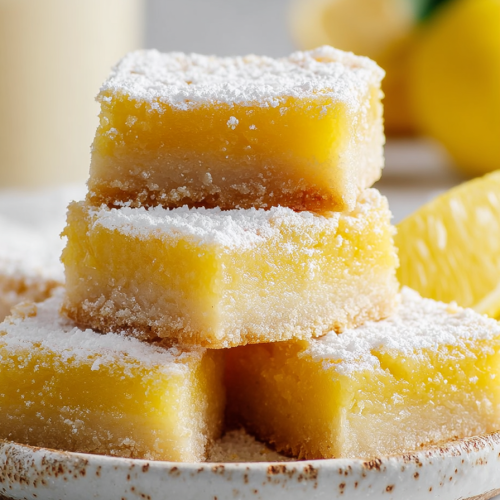
Delish Gluten Free Lemon Bars
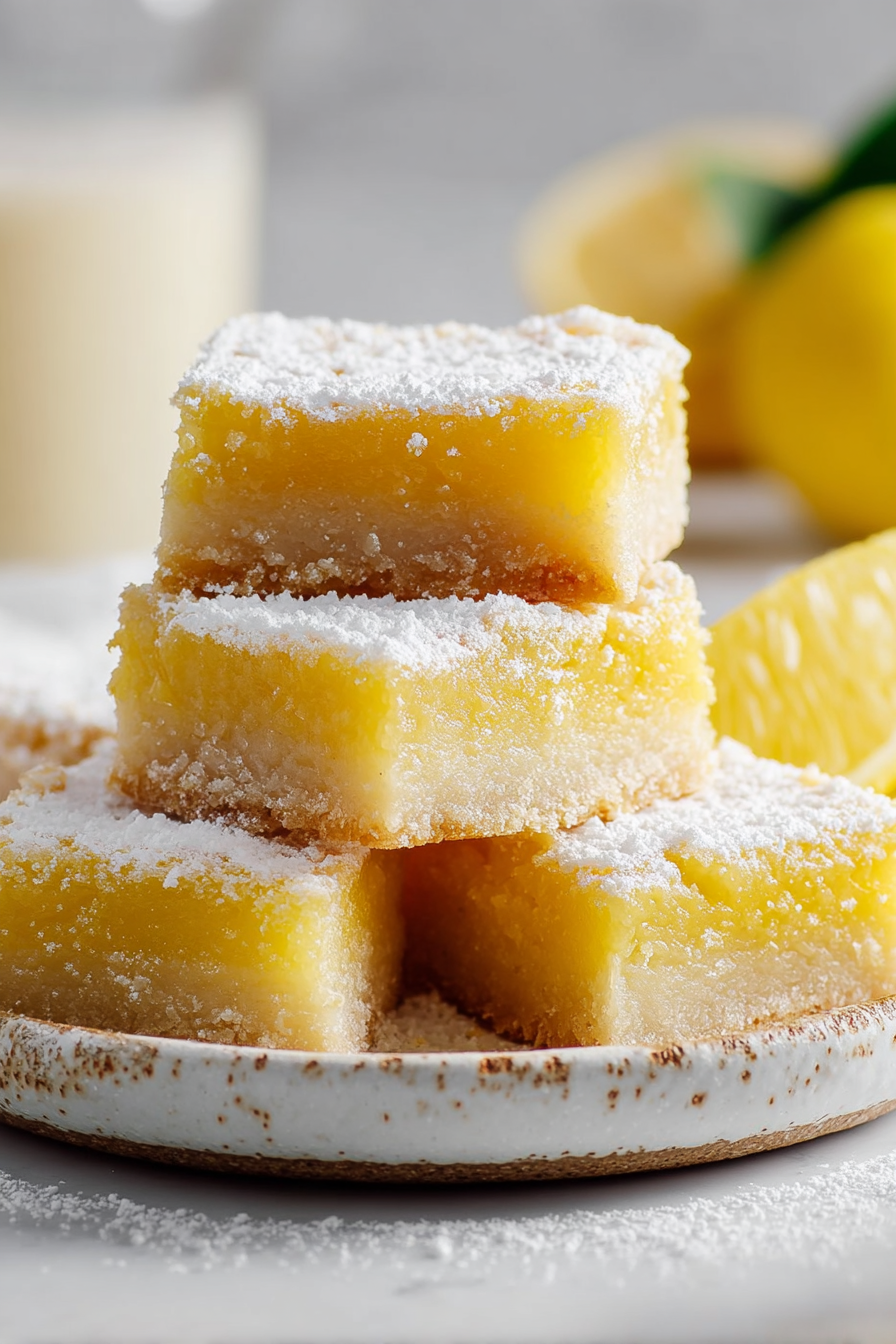
If sunshine had a chewy, buttery crust and a tangy attitude, it would be these Delish Gluten Free Lemon Bars. A crumbly almond-flour shortbread on the bottom, silky lemon curd on top, and a shameless flurry of powdered sugar to finish—like a beach vacation for your mouth, minus the sand. They’re bright, bold, and unapologetically lemony (because we’re grown-ups and deserve flavor). No gummy gluten-free weirdness here—just clean slices, tart-sweet balance, and that “oh wow, you actually baked?” energy.
My husband calls these “lemon lasagna,” which is generous, considering he once tried to cut them five minutes out of the oven with the butter knife that bends. The kids “helped” by zesting exactly one lemon and then zesting the cutting board, their fingers, and—somehow—the dog. I also learned that powdered sugar and cornstarch are not the same ingredient when you’re on autopilot. Yes, I baked the crust in a pan that was obviously too small. No, I will not be washing fewer dishes. I will, however, be eating lemon bars for dinner, because balance.
Why You’ll Love This Delish Gluten Free Lemon Bars
– The crust is almond flour + butter + a little sugar. It actually tastes like a cookie, not a beige compromise.
– The filling is real lemon juice and zest—bright, tangy, not cloying. You will pucker and thank me.
– No weird gums. Cornstarch or tapioca starch does the setting. Science, but make it dessert.
– Clean slices that don’t crumble into lemon dust. Chill, lift, cut, flex.
– Works in an 8×8 or 9×9. If you use a loaf pan, that’s a choice you made—I support you from afar.
– Accident-proof-ish: pre-bake crust, pour, bake again. Two steps, zero drama… mostly.
Time-Saving Hacks
– Melt the butter right in the baking pan, then mix the crust in the pan. Is it chaotic? Yes. Does it work? Also yes.
– Microwave lemons 10 seconds to get more juice. You’re welcome, forearms.
– Buy bottled lemon juice if you must; mix 75% bottled with 25% fresh + zest to fake it convincingly.
– Parchment sling the pan so you can yank the bars out like a magician. Ta-da, fewer crumbs.
– Strain the lemon filling straight into the hot crust. Fewer bowls, fewer regrets.
– If you’re really flying: use store-bought lemon curd on a homemade crust. I didn’t see anything. You’re still a hero.
MORE OF OUR FAVORITE…
Serving Ideas
– Classic: snowstorm of powdered sugar. Sift like you’re frosting your feelings.
– With whipped cream and berries if you’re trying to impress in-laws or your HOA.
– A dollop of yogurt for “breakfast.” It’s basically a citrus granola bar at that point.
– Espresso for balance; prosecco if the kids did that thing where they “cleaned” by hiding everything under the couch.
– Warm knife for clean cuts. Or don’t, and call it rustic-chic. Instagram can’t smell fear.
What to Serve It With
– Brunch spread: hash browns, bacon, fruit salad, and these bars pretending to be “palate cleanser.”
– BBQ nights: smoky grilled chicken, corn on the cob, and lemon bars to remind everyone you’re the real closer.
– Tea time: cucumber sandwiches, gossip, and squares so neat they could wear a blazer.
– Summer picnic: salty chips, fizzy lemonade, and lemon bars that somehow disappear first.
– Coffee date at home: decaf, full-caf, or “parent fuel.” Your call.
Tips & Mistakes
– Line the pan with parchment. Lemon loves to glue itself to metal like a stage-five clinger.
– Pre-bake the crust until just golden at the edges; raw crust + custard = mushy oops.
– Whisk the filling until smooth, then strain to remove bubbles and rogue zest shrapnel.
– Don’t overbake: pull when the center has a slight wobble. Overbaked bars crack and judge you.
– Cool completely, then chill at least 2 hours before slicing. Yes, waiting is rude.
– Dust with powdered sugar right before serving—early dusting melts into lemon invisibility.
– Use fresh lemons and zest. Bottled juice without zest is like karaoke without the chorus.
Storage Tips
Store it in the fridge… if there’s any left. Cold midnight leftovers? Sometimes better than fresh.
– Chill in an airtight container up to 4 days. Separate layers with parchment so they don’t fuse.
– Freeze cut bars up to 2 months. Thaw in the fridge and dust after thawing to avoid ghost sugar.
– Keep them covered unless you enjoy bars that taste like “fridge.” You know the flavor.
Variations and Substitutions
Swap whatever you want—sugar ↔ honey, soy sauce ↔ tamari, or skip steps and call it “deconstructed.” It still counts.
– Dairy-free: use plant butter or refined coconut oil in the crust. Still buttery, none of the moo.
– Meyer lemon for a sweeter, floral vibe. Lime bars if you’re feeling tropical. Grapefruit if you’re dramatic.
– Poppy seed in the filling or crust for crunch that says, “I brought texture.”
– Coconut crust: swap some almond flour for finely shredded unsweetened coconut.
– Blueberry swirl: dot the filling with a few teaspoons of thick jam, swirl gently, bake like normal.
– Nut-free: use a 1:1 gluten-free flour blend for the crust; add a pinch more salt and a spoon of cornstarch for tenderness.
– Lower sugar: reduce filling sugar by 2–4 tablespoons; the tartness can handle it.
Delish Gluten Free Lemon Bars
Ingredients
Main Ingredients
- 0.75 cup unsalted butter, melted for crust
- 1.5 cup gluten-free 1:1 baking flour for crust
- 0.25 cup granulated sugar for crust
- 0.25 tsp fine sea salt for crust
- 4 large eggs for filling
- 1.5 cup granulated sugar for filling
- 0.75 cup fresh lemon juice about 4 to 5 lemons
- 1 tbsp lemon zest, finely grated
- 0.25 cup cornstarch for filling
- 0.25 tsp fine sea salt for filling
- 1 tsp vanilla extract optional
- 0.25 cup powdered sugar for dusting, optional
Instructions
Preparation Steps
- Preheat oven to 350°F. Line a 9×13 inch baking pan with parchment paper, leaving overhang for easy lifting.
- Make the crust: In a bowl, whisk gluten-free flour, granulated sugar, and salt. Stir in melted butter until evenly moistened and crumbly.
- Press the crust mixture firmly and evenly into the prepared pan. Bake for 15 minutes until lightly set and just turning golden at the edges.
- While the crust bakes, prepare the filling: Whisk the eggs and granulated sugar until smooth. Whisk in lemon juice, lemon zest, vanilla (if using), cornstarch, and salt until no lumps remain.
- Pour the lemon filling over the hot crust immediately after it comes out of the oven.
- Return to the oven and bake for 20 minutes, or until the center is set with a slight jiggle and the top looks glossy.
- Cool completely in the pan on a rack, then refrigerate for at least 60 minutes to firm up for clean slices.
- Use the parchment to lift out. Dust with powdered sugar, then cut into 16 bars. Wipe the knife between cuts for neat edges.
- Store covered in the refrigerator for up to 5 days, or freeze bars (without sugar dusting) for up to 2 months.
Notes
Featured Comments
“New favorite here — absolutely loved. crowd-pleaser was spot on.”
“Made this last night and it was family favorite. Loved how the rich came together.”
“Made this last night and it was will make again. Loved how the crowd-pleaser came together.”
“New favorite here — absolutely loved. sweet treat was spot on.”
“New favorite here — absolutely loved. sweet treat was spot on.”
“Made this last night and it was will make again. Loved how the sweet treat came together.”
“Impressed! Clear steps and will make again results. Perfect for busy nights.”
“Impressed! Clear steps and will make again results. Perfect for busy nights.”
“New favorite here — so flavorful. rich was spot on.”
“This crowd-pleaser recipe was so flavorful — the rich really stands out. Thanks!”