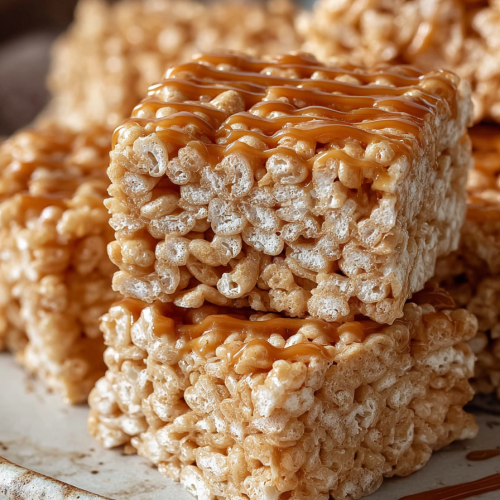
Easy Salted Caramel Rice Krispie Treats
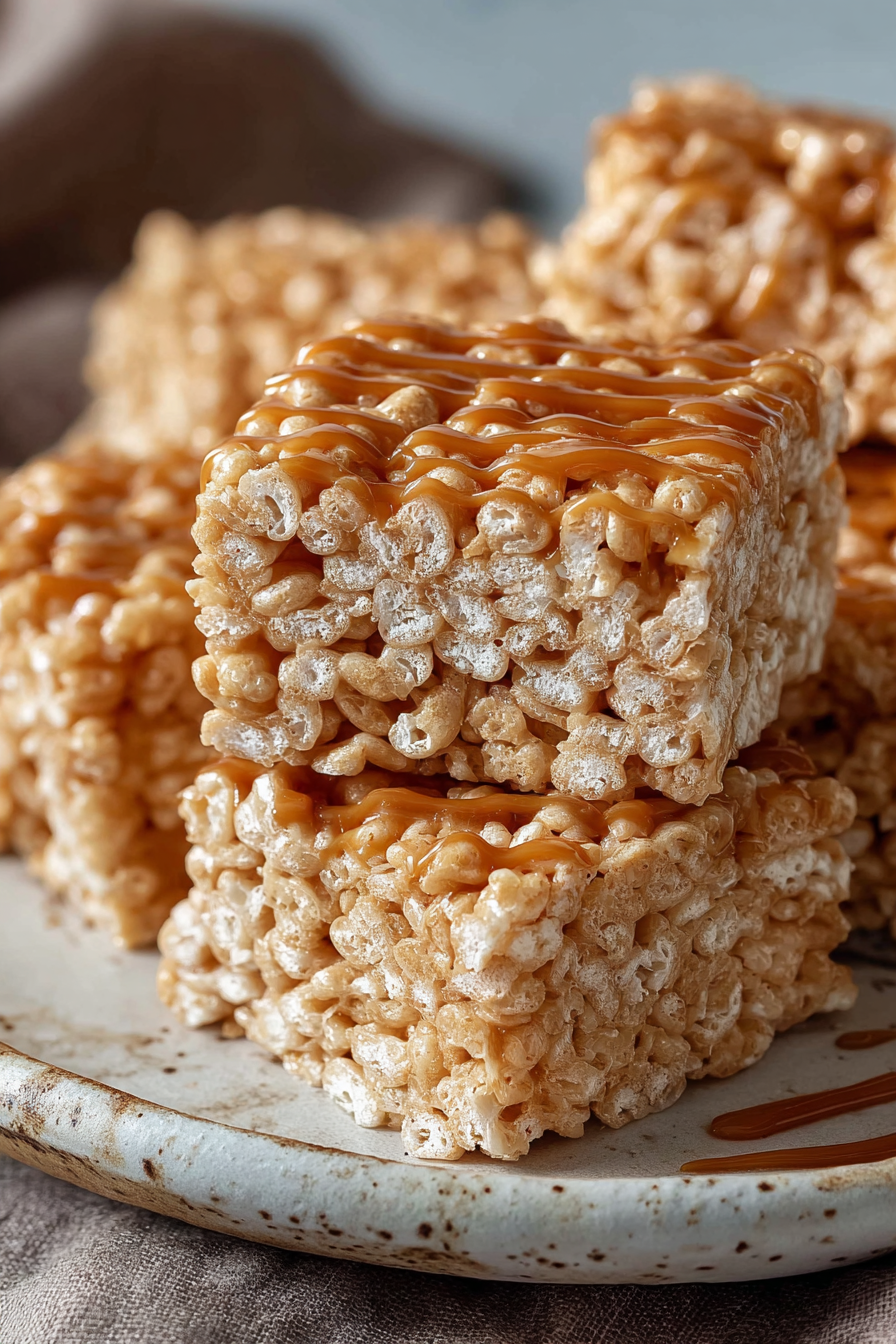
These are the no-bake squares you make when you want applause without breaking a sweat. Easy Salted Caramel Rice Krispie Treats are basically childhood marshmallow bliss that grew up, got a haircut, and started buying flaky sea salt at 10 p.m. They’re soft-chewy (not roof-tile crunchy), glossy, and swirled with a quick salted caramel that tastes suspiciously like you planned ahead. Spoiler: you didn’t. Neither did I.
One time I tried to make these while my husband declared himself “head stirrer” and the kids became “quality control.” Translation: he stirred the cereal like it owed him money, and the small people licked the spatula between every fold like tiny gremlins. I burned the first caramel (smelled like “campfire but make it panic”), set off the smoke alarm, and poured the second batch into a pan that was absolutely too small. Did I wash a larger one? Obviously not. I embraced the skyscraper bars and told everyone they were “bakery-style tall.” They believed me because sugar.
Why You’ll Love This Easy Salted Caramel Rice Krispie Treats
– No-bake hero: you get dessert and a clean(ish) oven. A rare win.
– That salted caramel swirl makes people think you have a secret pastry degree. You don’t. It’s fine.
– Chewy, not jaw-breaker. We respect teeth here.
– Flaky salt on top: because balance, but mostly because it looks fancy on Instagram.
– Uses pantry stuff: marshmallows, butter, cereal, caramels. Boom, dessert.
– Scales like a champ. Double batch? Triple? Yes, this pan is too small. No, I won’t wash fewer dishes.
Time-Saving Hacks
– Microwave your caramels with a splash of cream instead of stovetop. Is it traditional? No. Does it work? Absolutely.
– Line the pan with parchment and let it hang over like a little sling. Instant lift-out, zero pan scrubbing.
– Lightly grease your spatula (or hands) so the marshmallow goo behaves. Pam perfume is the new eau de bakery.
– Toss the cereal right into the pot you melted marshmallows in. One-pot dessert, zero regrets.
– In a rush? Chill the pan for 10 minutes in the freezer to set. Pretend it took hours.
– Use a pizza cutter for super straight bars. Or don’t, and call the rustic edges “chef’s snack.”
MORE OF OUR FAVORITE…
Serving Ideas
– Coffee: because sugar plus caffeine equals peak productivity (for like 11 minutes).
– Cold milk for the kids, wine for you if the Lego minefield took you down today.
– Crumbled over vanilla ice cream with extra caramel. Subtle? Not even a little.
– After-school snack, “breakfast” on a road trip, or midnight pantry treasure hunt. No judgment.
What to Serve It With
– Salty snacks: pretzels or potato chips for that sweet-salty-crunchy trifecta.
– Fresh berries if you want to pretend there’s balance here.
– A savory board (cheese, nuts, olives). It’s dessert tapas and I’m not sorry.
– Hot cocoa for cozy vibes or iced lattes for “I have meetings” energy.
Tips & Mistakes
– Don’t scorch the marshmallows. Medium-low heat, melt gently, then remove from heat before adding cereal. Boiling = concrete squares.
– Fold, don’t mash. Aggressive stirring turns cereal into dust and sadness.
– Press lightly into the pan. Over-pressing makes bricks. We’re here for soft chew.
– Salt smartly. Sprinkle flaky salt after spreading, while still tacky, so it sticks and doesn’t slide off like tiny salty lemmings.
– If your caramel gets too thick, stir in a teaspoon of cream or milk to loosen. Too runny? Give it a minute to cool before swirling.
– Parchment sling. I will die on this hill. Clean edges, easy exit, you’re welcome.
Storage Tips
Store it in the fridge… if there’s any left. Cold midnight leftovers? Sometimes better than fresh.
– Room temp: airtight for 2 days; add a slice of bread in the container to keep them soft.
– Fridge: 4–5 days, well-sealed. Let them sit out 10 minutes before serving if you like them extra soft.
– Freezer: wrap individually and freeze up to 2 months. Thaw on the counter, then pretend they’re freshly made and accept compliments.
Variations and Substitutions
Swap whatever you want—sugar ↔ honey, soy sauce ↔ tamari, or skip steps and call it “deconstructed.” It still counts.
– Brown butter the marshmallows for nutty depth. Takes 3 extra minutes, tastes like you know things.
– Peanut butter swirl instead of caramel if you’re Team PB (or use almond/sunflower butter for nut-free schools).
– Add-ins: mini chocolate chips, chopped pretzels, peanuts, toffee bits. Fold gently at the end.
– Chocolate drizzle on top if you’re feeling dramatic.
– Cereal swap: try cocoa crisps or corn flakes for a plot twist.
– Vegan/dairy-free: use vegan butter, plant-based marshmallows, and a coconut milk caramel. Still delicious, still sticky.
Frequently Asked Questions
Easy Salted Caramel Rice Krispie Treats
Ingredients
Main Ingredients
- 0.5 tablespoon unsalted butter, for pan
- 1 tablespoon unsalted butter for caramel
- 0.25 cup unsalted butter for marshmallow mixture
- 8 ounce soft caramel candies, unwrapped
- 0.25 cup heavy cream
- 10 ounce mini marshmallows
- 1 teaspoon vanilla extract
- 0.25 teaspoon fine sea salt
- 6 cup crispy rice cereal
- 0.5 teaspoon flaky sea salt for topping
- 0.5 cup semisweet chocolate chips optional, for drizzle
- 0.5 teaspoon coconut oil optional, for melting chocolate
Instructions
Preparation Steps
- Line an 8 inch square pan with parchment, leaving an overhang. Lightly butter the parchment with 0.5 tablespoon butter.
- Make the caramel: In a small saucepan over low heat, combine the caramel candies, heavy cream, and 1 tablespoon butter. Cook, stirring often, until completely smooth. Keep warm on the lowest heat.
- In a large pot over medium-low heat, melt 0.25 cup butter. Add the mini marshmallows and cook, stirring, until melted and glossy. Stir in vanilla and fine sea salt.
- Remove from heat and immediately fold in the crispy rice cereal until evenly coated.
- Press half of the cereal mixture into the prepared pan with a buttered spatula. Drizzle half of the warm caramel over the top.
- Add the remaining cereal mixture and gently press into an even layer. Drizzle the remaining caramel on top and swirl with a buttered knife. Sprinkle with flaky sea salt.
- Optional chocolate drizzle: Melt chocolate chips with coconut oil in a microwave-safe bowl in 20 second bursts, stirring between each, until smooth. Drizzle over the top.
- Let set at room temperature for 60 minutes, then lift out by the parchment and cut into 16 squares.
Notes
Featured Comments
“New favorite here — so flavorful. sweet treat was spot on.”
“Made this last night and it was will make again. Loved how the sweet treat came together.”
“Super easy and turned out amazing! My family asked for seconds. Saving this one.”
“New favorite here — absolutely loved. rich was spot on.”
“Impressed! Clear steps and family favorite results. Perfect for busy nights.”
“Made this last night and it was will make again. Loved how the creamy came together.”
“Super easy and turned out amazing! My family asked for seconds. Saving this one.”
“Made this last night and it was turned out amazing. Loved how the rich came together.”
“Super easy and absolutely loved! My family asked for seconds. Saving this one.”
“This crowd-pleaser recipe was turned out amazing — the rich really stands out. Thanks!”