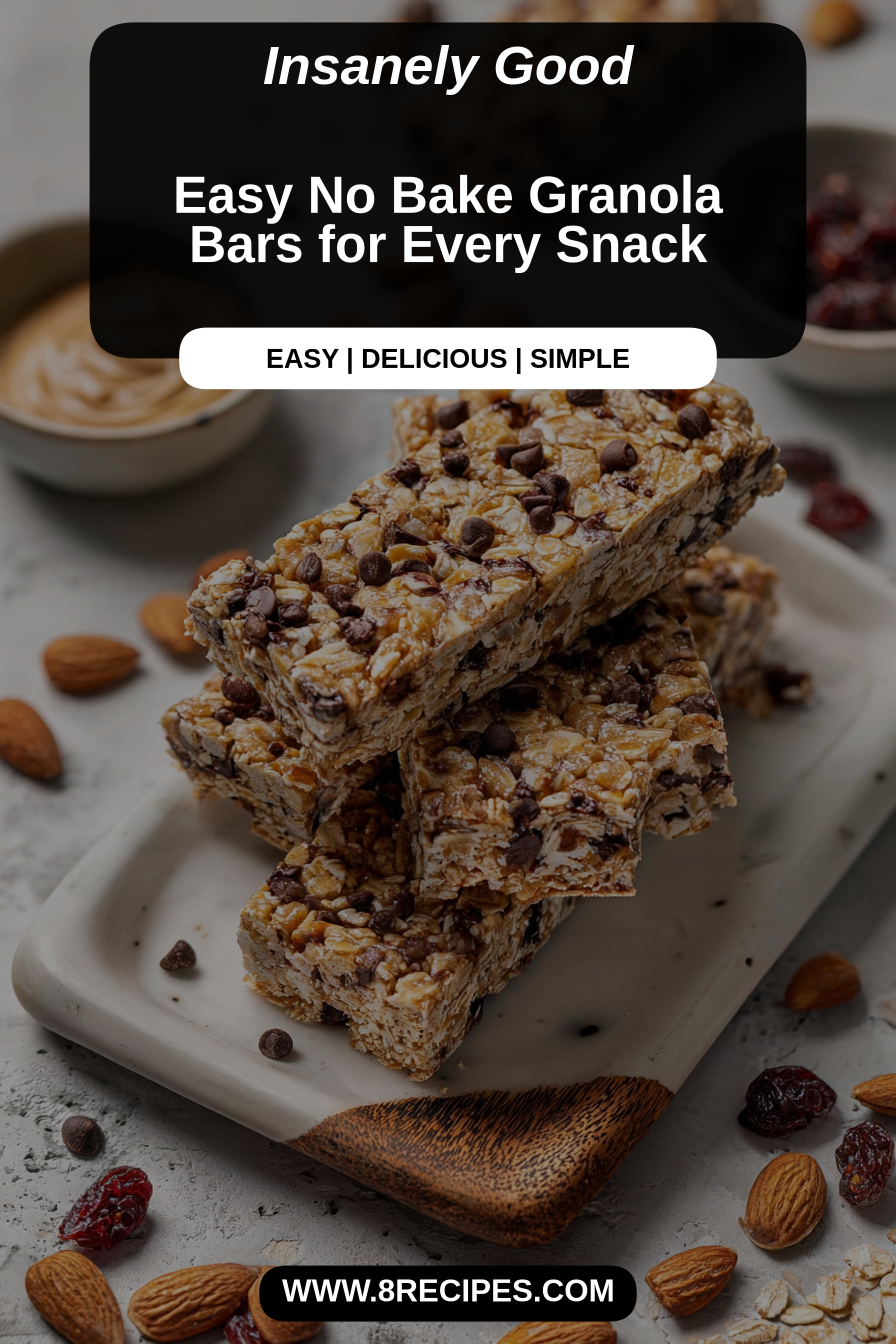
Easy No Bake Granola Bars for Every Snack
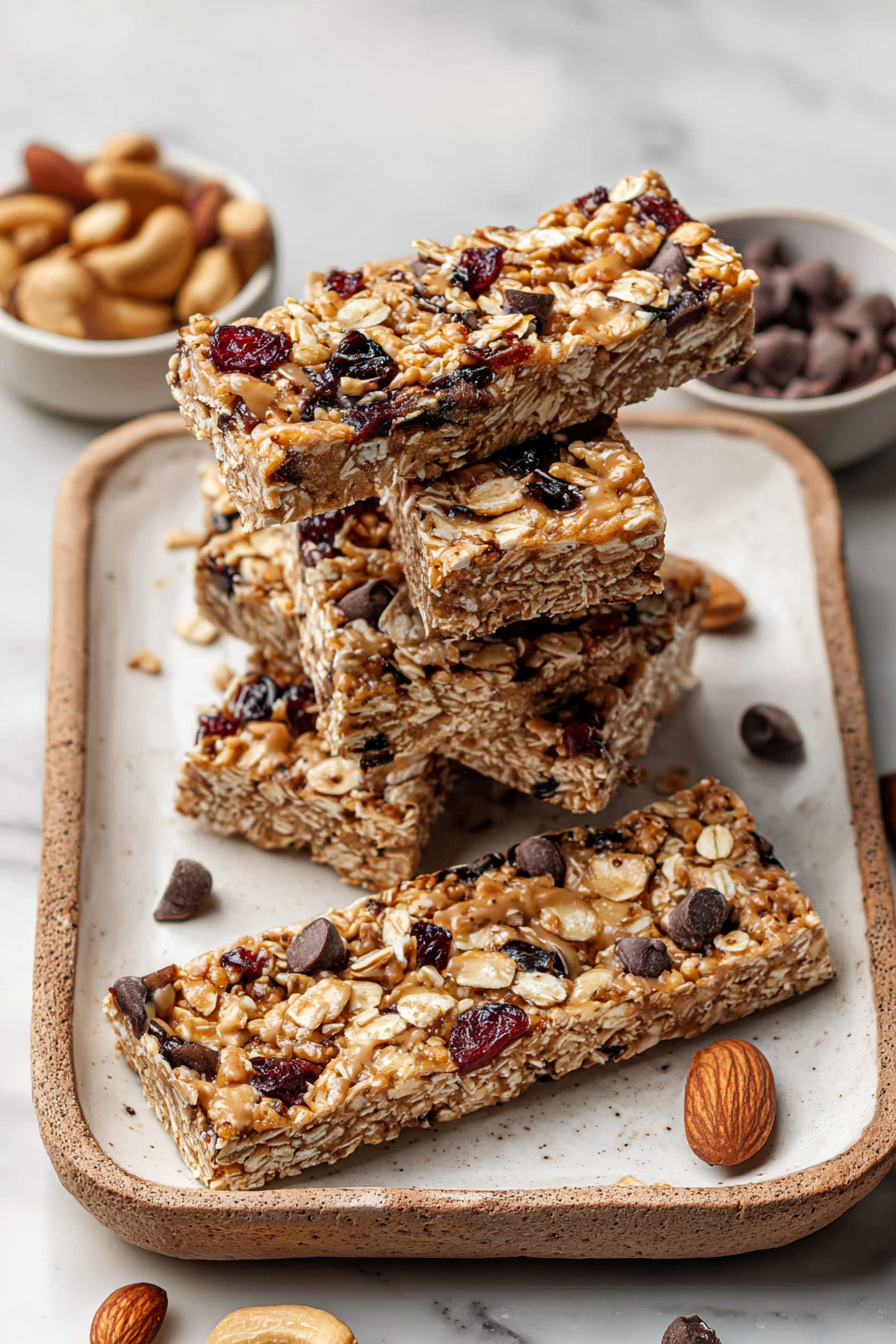
This is basically my lazy-person answer to “I need snacks that don’t implode my day.” Easy No Bake Granola Bars for Every Snack are chewy, slightly crunchy, and suspiciously addictive — the kind of thing you make when you want to feel like a responsible adult but also can’t be bothered with an oven. They’re perfect for lunchboxes, plane stashes, or that moment at 10 p.m. when you decide your pantry deserves a second life. Try them because they actually taste homemade, don’t require oven diplomacy, and they make you look like someone who plans ahead (lies encouraged).
My husband once tried to help by “taste-testing” a batch and then swore he didn’t touch the pan. Evidence suggested otherwise: one missing corner, three crumbs in his beard, and a new sticky ring on the counter. The kids negotiated trading chores for extra squares, which I accepted because bargaining beats actual cleaning. Me? I ate half a bar while pretending to set a timer. Domestic chaos, but with snacks.
Why You’ll Love This Easy No Bake Granola Bars for Every Snack
– They require zero baking drama — no preheating, no timer wars, no sunburned cookies.
– Portable and sturdy enough to survive backpacks, diaper bags, and questionable briefcases.
– Customizable: throw in whatever you love or whatever you’ve hoarded in the pantry like a squirrel with commitment issues.
– Slightly healthier than vending machine despair, but still manages to taste like a treat.
– Makes you feel like a domestic wizard without actually learning new spells.
Time-Saving Hacks
– Use pre-toasted oats or quick oats if you’re avoiding the “I forgot I was making bars” scenario.
– Press into a lined pan and chill in the freezer for 10 minutes instead of waiting in the fridge for an hour. Instant gratification, fewer dishes.
– Dump mix-ins straight from the bag — measuring is for people who own multiple baking scales.
– Reuse the same spatula to press and taste. You’ll regret it later but save time now.
MORE OF OUR FAVORITE…
Serving Ideas
– Pair with a cup of terrible office coffee and pretend you’re sophisticated.
– Box them with fruit for school lunches that will be Instagrammable for approximately five minutes.
– Serve with yogurt and a drizzle of honey for breakfast that says, “I might have my life together.”
– Offer a square to guests with wine if the kids drove you nuts — barter works.
– Or just hand them out like tiny, chewy peace treaties.
What to Serve It With
– Fresh fruit (apples, banana slices, or that orange you found under the couch).
– A smear of nut butter for extra protein and emotional support.
– Cold milk, hot coffee, or whatever keeps you upright until dinner.
Tips & Mistakes
Common mistake: Trying to slice the bars too soon. They’ll crumble and your life will feel like a sad baking show. Chill, then cut.
Pro tip: If they’re too sticky, chill longer or lightly oil the knife. No one needs a crumby counter and a therapy session.
My fail: Once I forgot the binder (ahem, syrup) and ended up with oat confetti. It tasted fine, but the structural integrity was tragic.
Storage Tips
Store it in the fridge… if there’s any left. Cold midnight leftovers? Sometimes better than fresh.
– Keep in an airtight container between parchment layers so the bars don’t become one tragic slab.
– Freeze extras individually wrapped for “OMG I need a snack” emergencies.
Variations and Substitutions
Swap whatever you want—sugar ↔ honey, soy sauce ↔ tamari, or skip steps and call it “deconstructed.” It still counts.
– Go nut-free with seeds and extra dried fruit.
– Dark chocolate chips are an emotional health choice. Don’t argue with me.
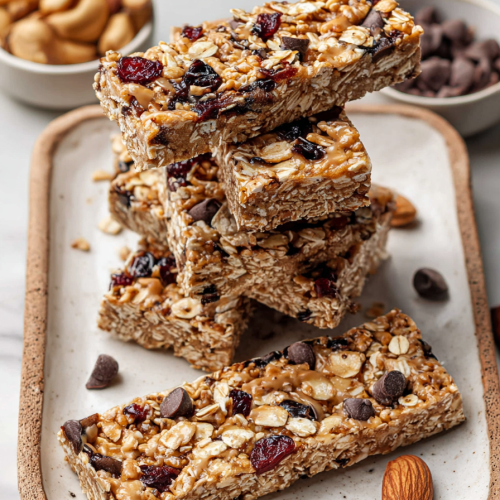
Easy No Bake Granola Bars for Every Snack
Ingredients
Main Ingredients
- 2 cups old-fashioned oats
- 0.5 cups honey
- 0.5 cups peanut butter
- 0.5 cups chocolate chips optional
- 0.25 cups chia seeds optional
Instructions
Preparation Steps
- In a large bowl, mix together the oats, peanut butter, and honey until well combined.
- Add in the chocolate chips and chia seeds, mixing until evenly distributed.
- Press the mixture firmly into a lined 9x9 inch baking dish.
- Refrigerate for at least 2 hours before slicing into bars.
Notes
Featured Comments
“Made this last night and it was absolutely loved. Loved how the crunchy came together.”
“Made this last night and it was turned out amazing. Loved how the quick bite came together.”
“Super easy and family favorite! My family asked for seconds. Saving this one.”
“Impressed! Clear steps and turned out amazing results. Perfect for busy nights.”
“Made this last night and it was will make again. Loved how the quick bite came together.”
“Made this last night and it was absolutely loved. Loved how the salty-sweet came together.”
“Impressed! Clear steps and will make again results. Perfect for busy nights.”
“Super easy and absolutely loved! My family asked for seconds. Saving this one.”
“Impressed! Clear steps and so flavorful results. Perfect for busy nights.”
“New favorite here — turned out amazing. grab-and-go was spot on.”