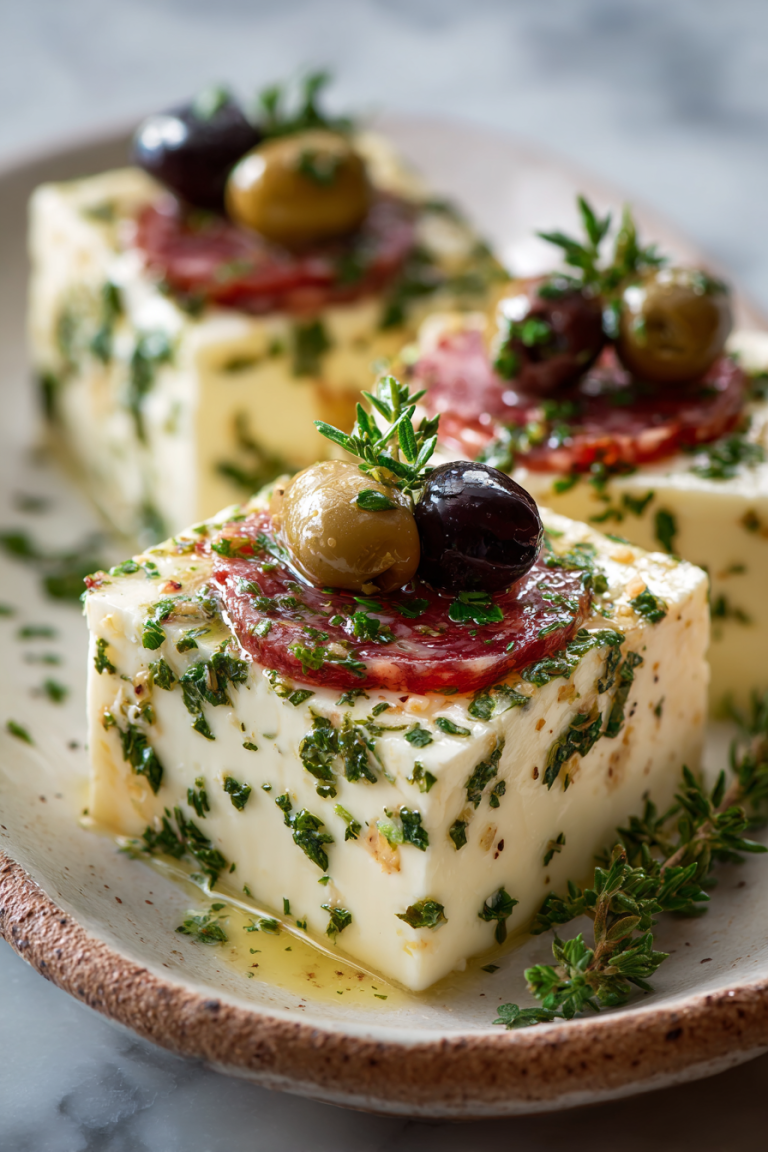
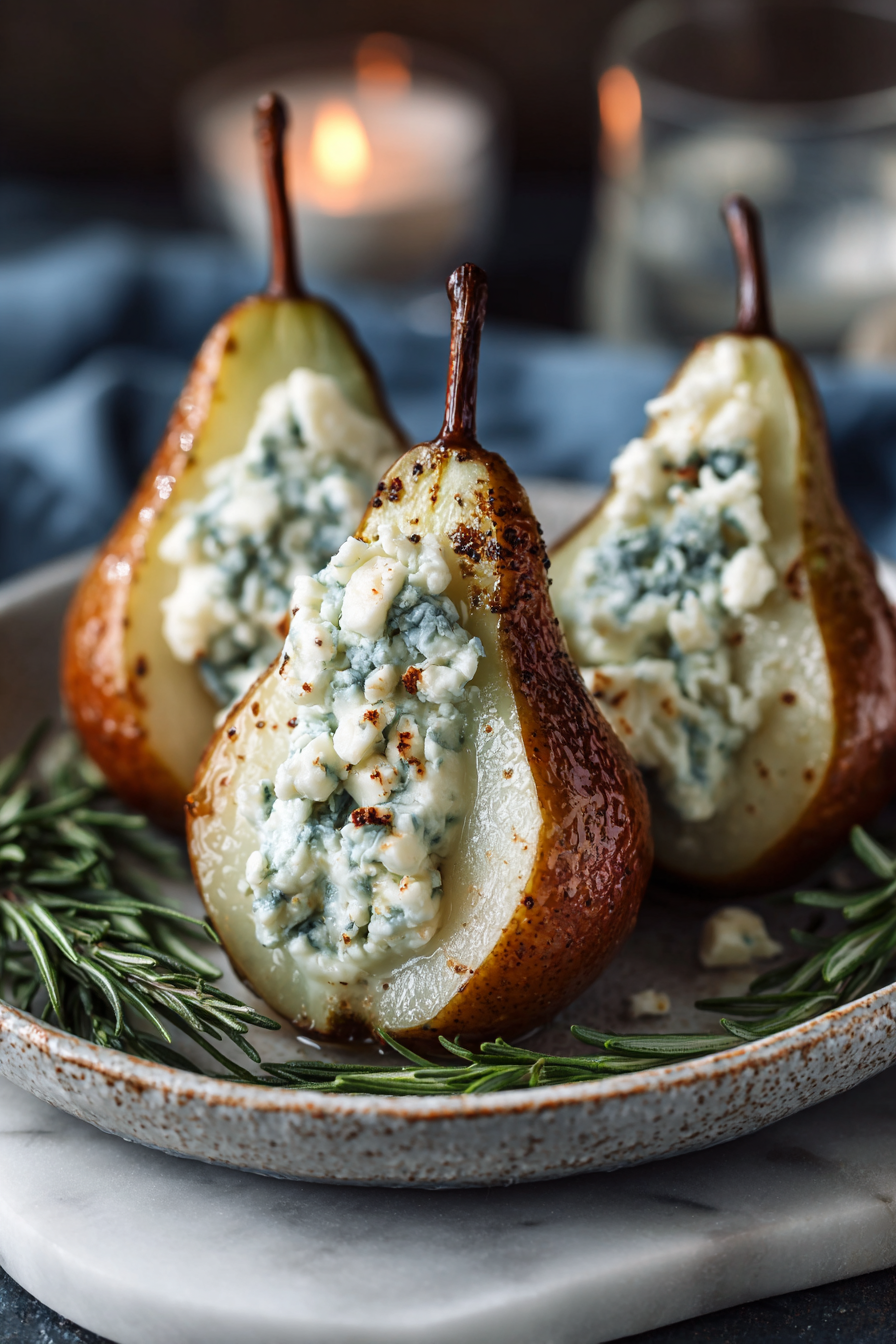
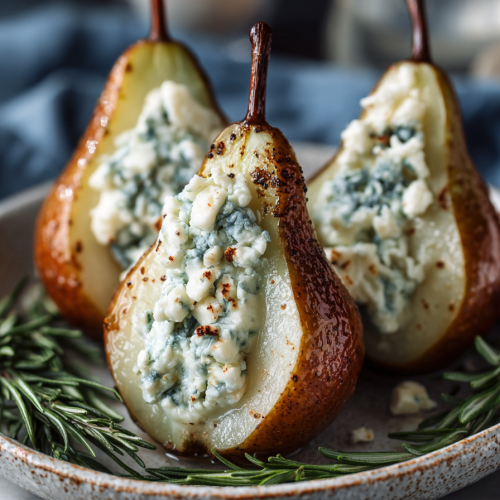
Elegant Blue Cheese Stuffed Pears Recipe
Alright, buckle up buttercups, because today we’re talking about something that sounds fancy but is secretly just an excuse to eat cheese and fruit without judgement: Elegant Blue Cheese Stuffed Pears. Yes, you read that right. Pears. Stuffed. With blue cheese. And maybe some nuts, because we’re not savages. This isn’t your grandma’s fruit salad, unless your grandma was a secret rebel who liked her appetizers to punch you in the face with flavor. It’s special because it’s ridiculously easy for how impressive it looks, and trust me, your guests (or just your cat, no judgment) will think you spent hours slaving away. Spoiler: you didn’t. Try it because sometimes, you just need a grown-up snack that isn’t chips and salsa. Or because you want to pretend you’re a sophisticated adult for five minutes before you go back to scrolling TikTok.
Speaking of sophistication, let me tell you about the time I first tried to make these for a “grown-up” dinner party. My husband, bless his cotton socks, saw the blue cheese sitting out and decided it looked suspiciously like a forgotten piece of old bread. He asked if he should “toss it, honey, it looks a bit moldy.” I nearly cried. Then my kids, who usually view anything green as a vegetable plot to be avoided, saw the crumbled blue cheese on the pears and declared them “alien brains.” They then proceeded to stage an elaborate battle scene using toothpicks, the pears as planets, and the walnuts as meteorites. My elegant appetizer quickly devolved into a sci-fi snack war. I ate my “alien brain” pear in the corner, contemplating my life choices, but honestly, it was still delicious. Even with tiny imaginary spaceships stuck in it.
Why You’ll Love This Elegant Blue Cheese Stuffed Pears Recipe
* It looks like you actually tried. Like, *really* tried. But you didn’t. It’s a culinary illusion.
* Blue cheese. Pears. Hello, flavor bomb! Your taste buds will throw a party, and everyone’s invited.
* Minimal dishes, maximum impact. Unless you get carried away with the stuffing process, then you’re on your own.
* It’s the perfect excuse to buy fancy cheese. Tell yourself it’s for “entertaining.” We both know you’ll eat half of it straight from the fridge.
* You can pretend you’re a Michelin-star chef for a day without the stress, the tiny tweezers, or the crippling debt.
* No cooking required! Unless you count toasting a few nuts, which, let’s be real, is just supervised warming.
Time-Saving Hacks
* Hack: Buy pre-crumbled blue cheese. Yeah, it costs a little more, but think of the emotional labor saved from not having to crumble cheese yourself. You’re worth it.
* Hack: Don’t bother toasting the nuts. Just toss ’em in. Who has time? They’ll still add crunch. Your inner perfectionist might whimper, but ignore them.
* Hack: Use a melon baller for scooping out the pear core. Or a regular spoon. Or your finger if you’re feeling wild. Whatever gets the job done and avoids another utensil in the sink.
* Hack: Line your cutting board with parchment paper before chopping anything. When you’re done, just lift the paper and toss. Boom! One less thing to scrub. You’re welcome.
* Hack: Serve them on a pretty plate you already own, rather than buying a special platter. Because “rustic” is just a fancy word for “didn’t have time to clean.”
MORE OF OUR FAVORITE…
Serving Ideas
* Serve them as an appetizer that says, “Yes, I am an adult, and I enjoy sophisticated flavors.” Even if you’re wearing sweatpants.
* Pair with a crisp white wine, like a Sauvignon Blanc, because sometimes you need a drink to truly appreciate your own genius. Or to recover from the kids’ sugar rush.
* They’re also fantastic with a drizzle of honey and a few sprigs of fresh thyme or rosemary. Makes it look like you went to culinary school.
* Honestly, just put them on a plate and watch them disappear. No need for elaborate garnishes unless you’re trying to impress someone who judges your life choices based on parsley placement.
* Serve them before a big, hearty meal to cleanse the palate. Or, let’s be real, serve them as your entire meal because they’re that good and you’re too tired to cook anything else.
What to Serve It With
Tips & Mistakes
Storage Tips
Store it in the fridge… if there’s any left. Cold midnight leftovers? Sometimes better than fresh.
Variations and Substitutions
Swap whatever you want—sugar ↔ honey, soy sauce ↔ tamari, or skip steps and call it “deconstructed.” It still counts.

Frequently Asked Questions
Elegant Blue Cheese Stuffed Pears Recipe
Ingredients
Main Ingredients
- 3 medium pears Choose firm and ripe pears.
- 5 oz blue cheese Crumbled.
- 2 tbsp walnuts Chopped.
- 1 tbsp honey Optional for sweetness.
- 1 tbsp lemon juice Freshly squeezed.
Instructions
Preparation Steps
- Preheat your oven to 375°F.
- Slice the pears in half and scoop out the core.
- In a bowl, mix the blue cheese, walnuts, honey, and lemon juice.
- Stuff the pear halves with the cheese mixture.
- Place the stuffed pears on a baking sheet and bake for 5-7 minutes until warm.
- Remove from the oven and serve warm.
Notes
Featured Comments
“Impressed! Clear steps and turned out amazing results. Perfect for busy nights.”
“Super easy and absolutely loved! My family asked for seconds. Saving this one.”
“Made this last night and it was absolutely loved. Loved how the crispy came together.”
“New favorite here — absolutely loved. crispy was spot on.”
“This flavorful recipe was turned out amazing — the crispy really stands out. Thanks!”
“Super easy and family favorite! My family asked for seconds. Saving this one.”
“This bite-sized recipe was absolutely loved — the flavorful really stands out. Thanks!”
“Super easy and will make again! My family asked for seconds. Saving this one.”
“New favorite here — family favorite. flavorful was spot on.”
“New favorite here — absolutely loved. crispy was spot on.”