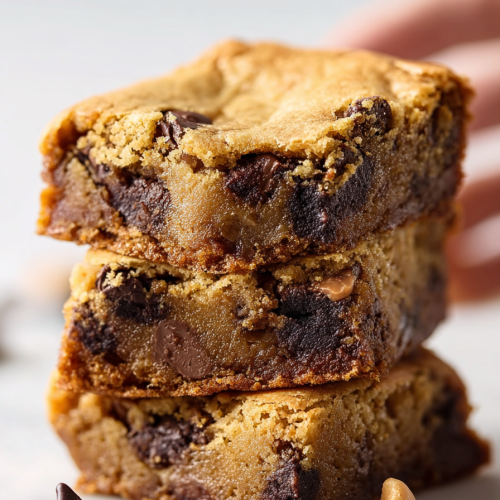
Delish Peanut Butter Chocolate Chip Bars
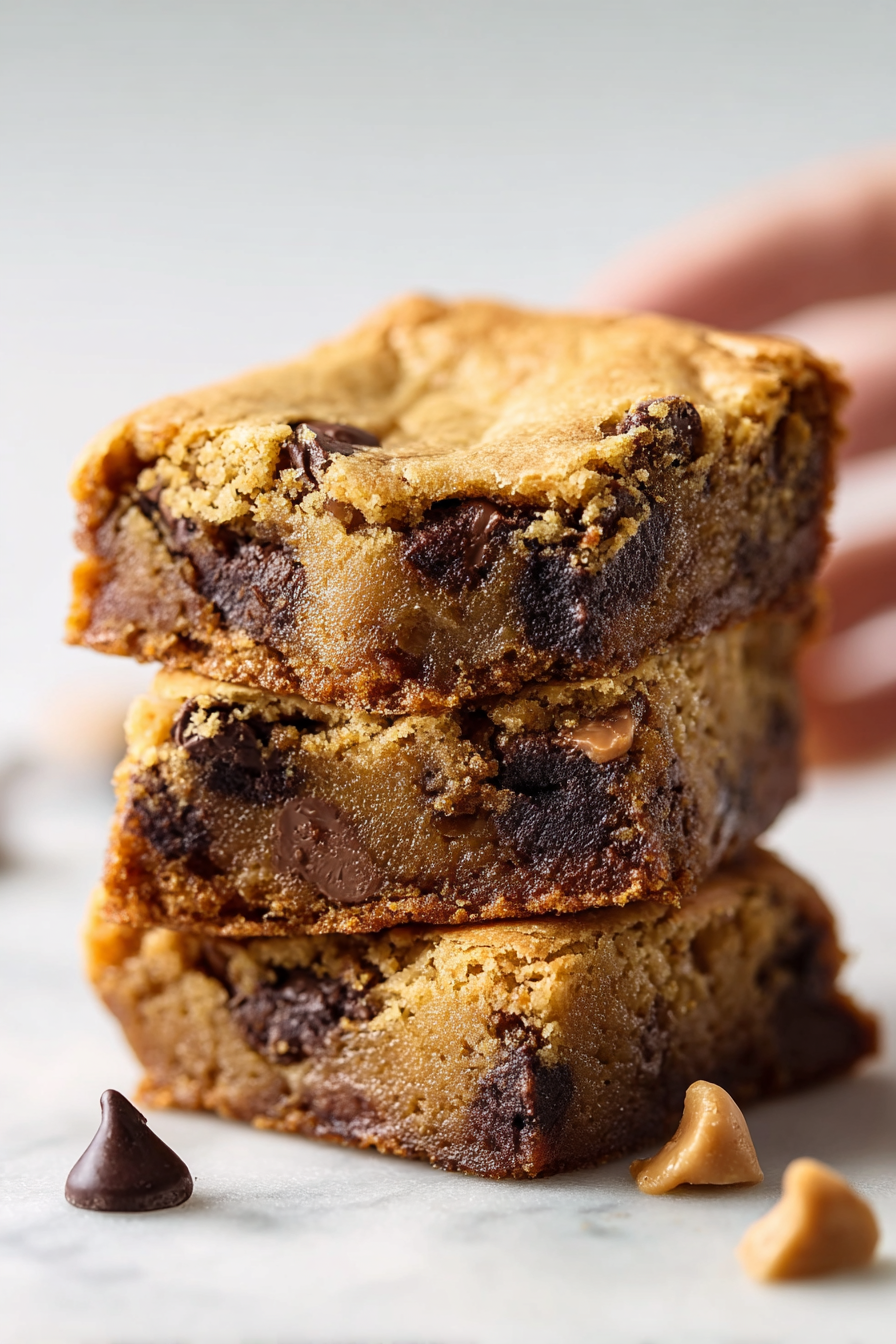
Let’s talk about the bars I make when I’m “not eating dessert” but somehow need to taste the batter six times to “check the salt.” These are thick, chewy, peanut-buttery squares studded with melty chocolate chips—the kind you think you’ll slice into tidy little bars, then end up eating in chaotic, lava-like scoops because patience is not our brand. The whole thing comes together in one bowl (two if you count the melted butter cup I will absolutely abandon in the sink) and bakes into a golden, slightly underdone situation that feels like a warm hug from your reckless inner child. Yes, this pan is probably too small. No, I won’t wash fewer dishes.
Here’s the scene: I pulled these out of the oven, told my husband to “let them cool,” which he heard as “attack with a butter knife like a cartoon raccoon.” The kids saw molten chocolate and suddenly became amateur geologists, “studying” crumb structure with their fingers. The dog ate a corner (he’s fine, I’m still furious), I pretended this was all part of the plan, and we called it “rustic.” Ten out of ten, would cause controlled chaos again.
Why You’ll Love This Delish Peanut Butter Chocolate Chip Bars
– They taste like the inside of a peanut butter cup went to college and learned about browned butter. Very advanced.
– No stand mixer. Just a bowl, a spoon, and the sheer willpower not to eat the dough raw. Good luck with that.
– Crispy edges, fudgy middle. The holy texture combo I will start a cult over.
– Forgiving recipe: measuring is a vibe. “Heaping” is a unit in this house.
– They freeze beautifully, which is adorable because who’s freezing these?
Time-Saving Hacks
– Melt the butter in the baking pan in the preheating oven. Is it wrong? Yes. Will I still do it? Also yes.
– Line the pan with parchment so you can yeet the whole slab onto a cutting board and pretend you’re a bakery.
– Use a whisk for the wet stuff, then switch to a spatula for the dry. That’s two tools, not five. We’re improving.
– Skip softening your peanut butter by microwaving it for 10–15 seconds. Chaotic neutral energy.
– Don’t cool them fully—freeze for 10 minutes and slice. Or don’t slice. Spoon-to-pan is a serving method.
MORE OF OUR FAVORITE…
Serving Ideas
– Warm with vanilla ice cream and a drizzle of honey if you’re trying to impress exactly one person: yourself.
– Coffee for breakfast. It’s a “breakfast bar” if you look away while you eat it.
– Cold from the fridge with a pinch of flaky salt: chef’s kiss, therapy not included.
– Serve with wine if the kids drove you nuts. Pairing notes: any wine that pours.
– Honest option: straight from the pan while standing over the sink. It’s called efficiency.
What to Serve It With
– Tall glass of milk or chocolate milk if you really want to commit to the bit.
– Fresh berries for contrast, so you can say you “balanced your plate” on Instagram.
– Salty snacks like pretzels or potato chips—the sweet-salty spiral is real.
– Espresso or cold brew, because caffeine and sugar are best friends.
Tips & Mistakes
– Don’t overbake: Pull them when the center still looks a little soft; they set as they cool.
– Pan size: 8×8 for thicker, gooier bars; 9×9 for a tidier slice and quicker bake.
– Peanut butter type: Creamy works best; natural PB is fine but stir it smooth and expect a slightly cakier texture.
– Mixing: Stir until just combined. Overmix = tough bars = sadness.
– Line the pan: Parchment sling saves lives (and corners).
– Let cool (a bit): Slicing hot bars is a crumb avalanche. Delicious, but messy.
– Salt: A sprinkle of flaky salt on top makes you look and feel fancy.
Storage Tips
Store it in the fridge… if there’s any left. Cold midnight leftovers? Sometimes better than fresh.
– Counter: 2–3 days in an airtight container.
– Fridge: Up to a week, and they firm up nicely.
– Freezer: Slice, wrap, and freeze up to 2 months; thaw at room temp or zap for 10–15 seconds.
Variations and Substitutions
Swap whatever you want—sugar ↔ honey, soy sauce ↔ tamari, or skip steps and call it “deconstructed.” It still counts.
– Almond butter or cashew butter in place of peanut butter. Sunflower seed butter if nut-free.
– Chocolate situation: chips, chunks, or a chopped bar. Mix milk and dark if you’re indecisive (same).
– Add-ins: chopped peanuts, pretzels, coconut flakes, or a swirl of raspberry jam for PB&J vibes.
– Sweeteners: brown sugar for fudgy texture; maple syrup for weekend energy (reduce other liquid slightly).
– Flour tweaks: Use a 1:1 gluten-free blend; oat flour works, but go by feel—dough should be thick, not pourable.
Delish Peanut Butter Chocolate Chip Bars
Ingredients
Main Ingredients
- baking spray for greasing the pan
- 1.5 cup all-purpose flour
- 0.5 teaspoon baking soda
- 0.5 teaspoon fine salt
- 0.5 cup unsalted butter, melted and slightly cooled
- 0.75 cup creamy peanut butter
- 0.75 cup light brown sugar, packed
- 0.5 cup granulated sugar
- 2 large eggs
- 2 teaspoon vanilla extract
- 1.25 cup semisweet chocolate chips
- 0.25 cup mini chocolate chips for topping, optional
- 0.125 teaspoon flaky sea salt optional
Instructions
Preparation Steps
- Preheat oven to 350°F. Line a 9x13-inch baking pan with parchment paper, leaving overhang, and lightly grease with baking spray.
- In a medium bowl, whisk together flour, baking soda, and salt; set aside.
- In a large bowl, whisk the melted butter, peanut butter, brown sugar, and granulated sugar until smooth and glossy.
- Whisk in eggs one at a time, then whisk in vanilla until well combined.
- Add dry ingredients to the wet ingredients and fold with a spatula just until no dry streaks remain; do not overmix.
- Fold in 1 cup of the semisweet chocolate chips, reserving the remaining 0.25 cup for topping.
- Spread the thick batter evenly into the prepared pan. Sprinkle the remaining semisweet chips and the mini chocolate chips over the top. Lightly sprinkle with flaky sea salt if using.
- Bake for 22 to 27 minutes, until the edges are set and golden and a toothpick inserted near the center comes out with a few moist crumbs (not wet batter).
- Cool completely in the pan on a wire rack. Use parchment to lift out, then cut into 16 bars.
- Store bars airtight at room temperature for up to 3 days or freeze for up to 2 months.
Notes
Featured Comments
“Impressed! Clear steps and absolutely loved results. Perfect for busy nights.”
“This creamy recipe was absolutely loved — the sweet treat really stands out. Thanks!”
“This sweet treat recipe was family favorite — the crowd-pleaser really stands out. Thanks!”
“Super easy and family favorite! My family asked for seconds. Saving this one.”
“Super easy and will make again! My family asked for seconds. Saving this one.”
“New favorite here — will make again. creamy was spot on.”
“Super easy and absolutely loved! My family asked for seconds. Saving this one.”
“Super easy and turned out amazing! My family asked for seconds. Saving this one.”
“Made this last night and it was turned out amazing. Loved how the sweet treat came together.”
“New favorite here — family favorite. rich was spot on.”