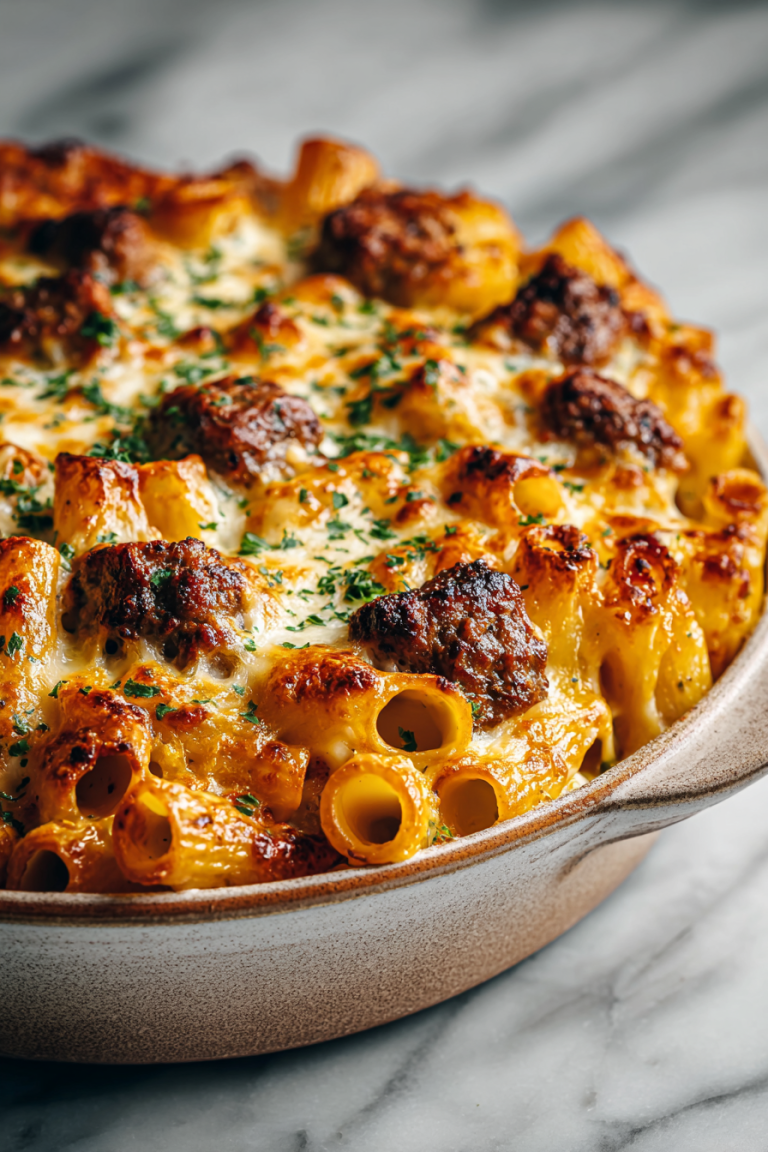
Easy Baked Burrito Casserole
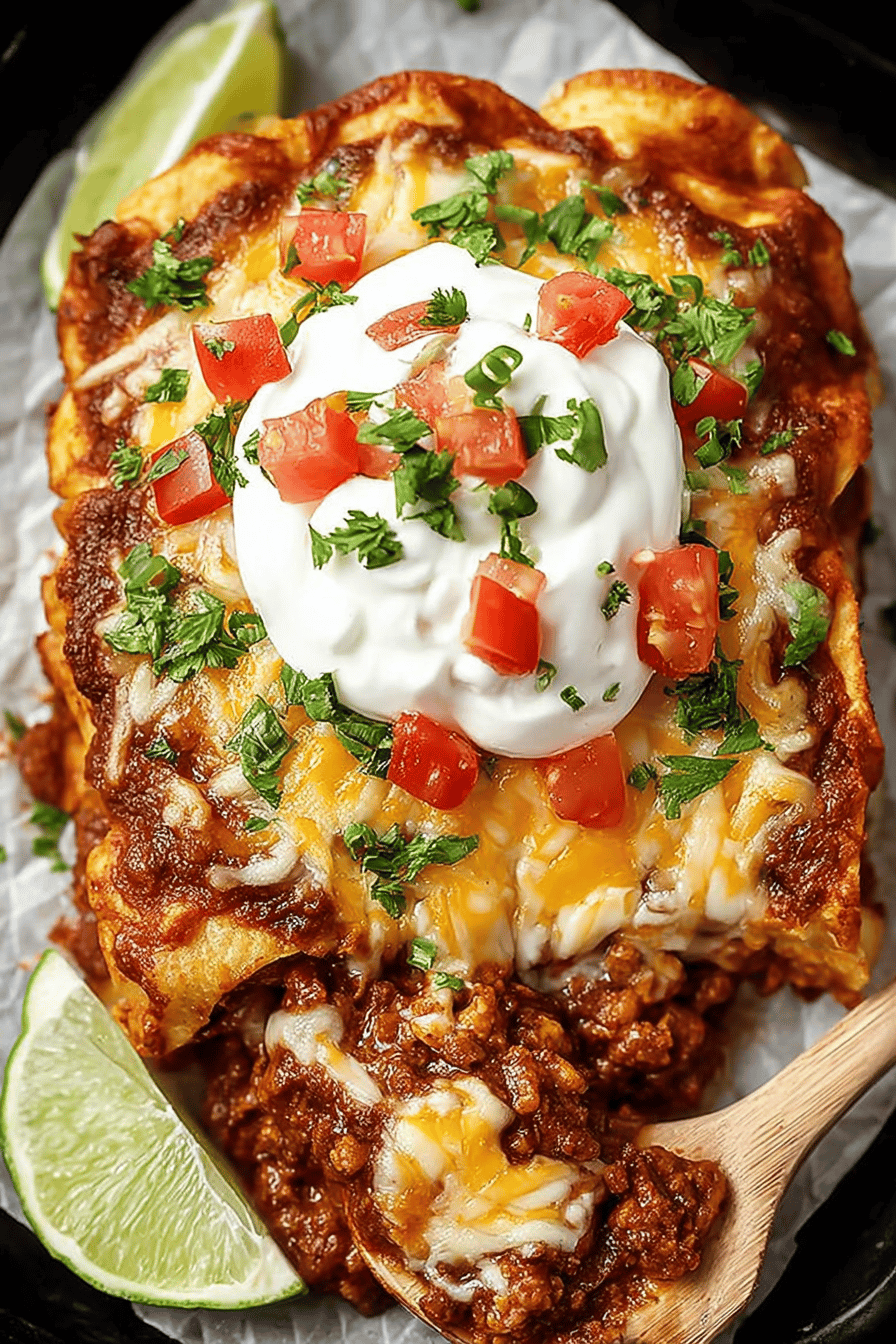
This casserole is the weeknight hero that saves me from my own procrastination. Layers of soft tortillas, saucy beef and beans, creamy pockets of sour cream, and a big melty blanket of cheese… then baked until it’s bubbling and toasty around the edges. It’s everything you love in a burrito, just stacked and thrown in the oven like the chaotic, delicious lasagna of Tex-Mex dreams.
My husband calls dibs on the corner piece every time (he likes the crispy edges), and my kid just peels off the cheese first like a tiny raccoon with manners. We make this on Mondays when the fridge feels empty and somehow it feeds us for two nights. The leftovers the next morning with a fried egg on top? Ridiculous in the best way.
Why You’ll Love This Easy Baked Burrito Casserole
– It’s a whole burrito party with zero rolling drama.
– One pan, big payoff. Feeds 6–8 without a meltdown.
– Flexible. Beef, turkey, beans-only, whatever’s hanging out in the fridge.
– Crispy edges + gooey center = best of both worlds.
– Meal-prep friendly. Makes epic leftovers and freezes like a champ.
How to Make It
Brown some ground beef with onion and garlic, toss in taco seasoning, then stir in black beans, corn, and a splash of enchilada sauce or salsa until it’s saucy-but-not-soup. Now you layer: tortillas on the bottom, some of that beefy-beany goodness, a scatter of rice if you’re using it, a swoop of sour cream, and a shower of cheese. Repeat like you mean it. Pour a little extra sauce over the top, hit it with more cheese, and bake until it’s bubbly and the edges are trying to crisp. Let it sit (seriously, 10 minutes) so it slices like a champ. Serve with whatever green stuff you pretend you eat daily. Makes 6–8 cozy squares and the pan disappears faster than expected.
MORE OF OUR FAVORITE…
Ingredient Notes
– Ground beef (1 lb): Juicy classic. Swap for turkey or plant-based crumbles; just add a little oil with lean meats so it doesn’t dry out.
– Taco seasoning (1 packet or 2 tbsp): Store-bought is fine. Homemade mix? Even better. Taste your mixture—bland beef is a bummer.
– Black beans (1 can, drained/rinsed): Adds protein and that hearty bite. Pinto beans work too; just don’t skip the drain.
– Corn (1 cup): Frozen or canned. Sweet little pops in every bite. Thaw/drain so it doesn’t water things down.
– Red enchilada sauce (2 cups): Smooth, saucy glue. Salsa works in a pinch; I like half-and-half for texture and tang.
– Flour tortillas (8–10, 8-inch): Soft and sturdy. Corn tortillas work if lightly warmed so they don’t crack.
– Cooked rice (2 cups, optional): Makes it extra “burrito-y” and stretchier on the servings. Leftover rice = perfect.
– Shredded cheese (2–3 cups): Mexican blend melts beautifully. Don’t be shy; cheese is the binder and the joy.
– Sour cream (1 cup): Dollop between layers for creamy surprise pockets. Greek yogurt or a little softened cream cheese also slaps.
– Onion + garlic (1 small + 2 cloves): Flavor backbone. If you’re sensitive, use onion powder and garlic powder—still good.
– Oil + salt: A slick for the pan and a little seasoning insurance.
Recipe Steps
1. Preheat oven to 375°F and lightly oil a 9×13-inch baking dish.
2. Brown 1 lb ground beef in a skillet with a drizzle of oil; add chopped onion and minced garlic; cook until soft.
3. Stir in taco seasoning, 1–1.5 cups enchilada sauce (or salsa), black beans, and corn; simmer 2–3 minutes to thicken.
4. Layer tortillas in the baking dish, add a third of the meat mixture, scatter some rice (if using), dollop sour cream, and sprinkle cheese; repeat for 2–3 layers.
5. Pour remaining sauce over the top and finish with a generous blanket of cheese.
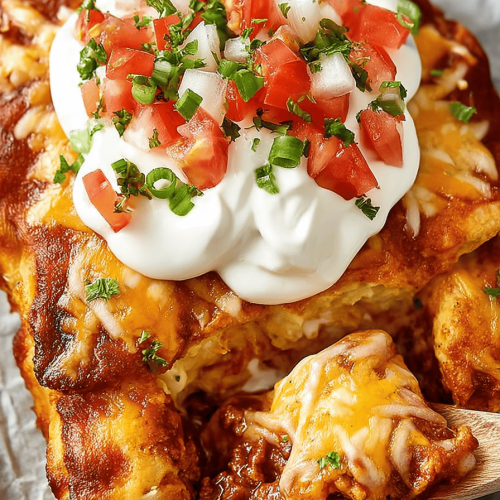
6. Bake 20–25 minutes until bubbly and golden; rest 10 minutes, then slice and top with cilantro, jalapeños, or avocado.
What to Serve It With
– Crunchy romaine with lime dressing so you can pretend it’s balanced.
– Quick pico de gallo, guac, and extra sour cream.
– Pickled red onions and a squeeze of lime—bright and punchy.
– Chips for scooping the corners because we’re not wasting that cheese.
Tips & Mistakes
– Don’t drown it. Too much sauce = soggy middle. You want saucy, not soupy.
– Warm tortillas first if using corn so they don’t crack while layering.
– Rest time matters. Ten minutes turns chaos into clean slices.
– Season as you go. Taste the meat mixture before layering.
– Cheese on top should be generous. It’s the lid that keeps everything cozy.
Storage Tips
Fridge it: Cool, cover, and chill up to 4 days. Reheat slices in the oven (350°F, 10–15 minutes) or microwave if you’re hungry-hungry.
Freeze it: Wrap tight (whole or in squares) and freeze up to 3 months. Thaw overnight, then bake until hot and melty.
Cold bite straight from the container? No judgment. Also wildly good with a fried egg for breakfast.
Variations and Substitutions
– Turkey or chicken: Same process, just don’t overcook—add a splash of broth if dry.
– Veggie version: Skip meat; double beans and add sautéed peppers/zucchini.
– Spicy: Mix in chipotle peppers or hot salsa; pepper jack on top.
– Dairy-free: Use dairy-free cheese and a coconut yogurt dollop instead of sour cream.
– Sauce swap: Salsa verde instead of red enchilada sauce = bright and zippy.
– Grain-free: Skip rice and use extra veggies; layer with low-carb tortillas.
– Pantry crunch time: No beans? Add a can of refried beans for creamy heft.
– Seasoning swap: No taco seasoning? Use chili powder, cumin, paprika, garlic powder, onion powder, salt.
Frequently Asked Questions
Easy Baked Burrito Casserole
Ingredients
Main Ingredients
- 1 tbsp olive oil for sautéing
- 1 cup yellow onion, diced
- 2 clove garlic, minced
- 1.5 lb lean ground beef 90% lean or similar
- 2 tbsp taco seasoning store-bought or homemade
- 0.5 tsp fine salt to taste
- 0.5 tsp black pepper to taste
- 16 oz refried beans
- 1.5 cup salsa
- 15 oz black beans, drained and rinsed
- 1 cup frozen corn
- 4 oz diced green chiles
- 8 tortilla flour tortillas (8-inch)
- 1 cup sour cream
- 2 cup shredded cheddar cheese divided
- 0.25 cup green onions, sliced for garnish
Instructions
Preparation Steps
- Preheat oven to 375°F. Lightly grease a 9x13-inch baking dish.
- Heat olive oil in a large skillet over medium heat. Add onion and cook until softened, 3 to 4 minutes. Stir in garlic and cook 30 seconds.
- Add ground beef and cook, breaking it up, until browned and no longer pink. Drain excess fat.
- Stir in taco seasoning, salt, pepper, salsa, black beans, corn, and green chiles. Simmer 3 to 4 minutes to thicken slightly; remove from heat.
- If the refried beans are very thick, stir in 2 to 3 tbsp water until spreadable.
- Spread a thin layer of the beef mixture (about 0.5 cup) in the prepared dish. Arrange tortillas to cover the bottom (cut to fit as needed). Spread half the refried beans over the tortillas, then half of the remaining beef mixture, dollops of half the sour cream, and about 1.0 cup cheddar.
- Repeat the layers: tortillas, remaining refried beans, remaining beef mixture, remaining sour cream, and 1.0 cup cheddar on top.
- Cover with foil and bake for 20 minutes.
- Uncover and bake 10 minutes more until bubbly and the cheese is melted. Let rest 10 minutes.
- Garnish with green onions, slice into 8 pieces, and serve.
Notes
Featured Comments
“Impressed! Clear steps and turned out amazing results. Perfect for busy nights.”
“Impressed! Clear steps and family favorite results. Perfect for busy nights.”
“Impressed! Clear steps and so flavorful results. Perfect for busy nights.”
“New favorite here — so flavorful. crunchy was spot on.”
“Made this last night and it was turned out amazing. Loved how the toasty came together.”
“Made this last night and it was family favorite. Loved how the comforting came together.”
“This family-style recipe was so flavorful — the party favorite really stands out. Thanks!”
“Impressed! Clear steps and turned out amazing results. Perfect for busy nights.”
“New favorite here — turned out amazing. weeknight saver was spot on.”
“Impressed! Clear steps and turned out amazing results. Perfect for busy nights.”