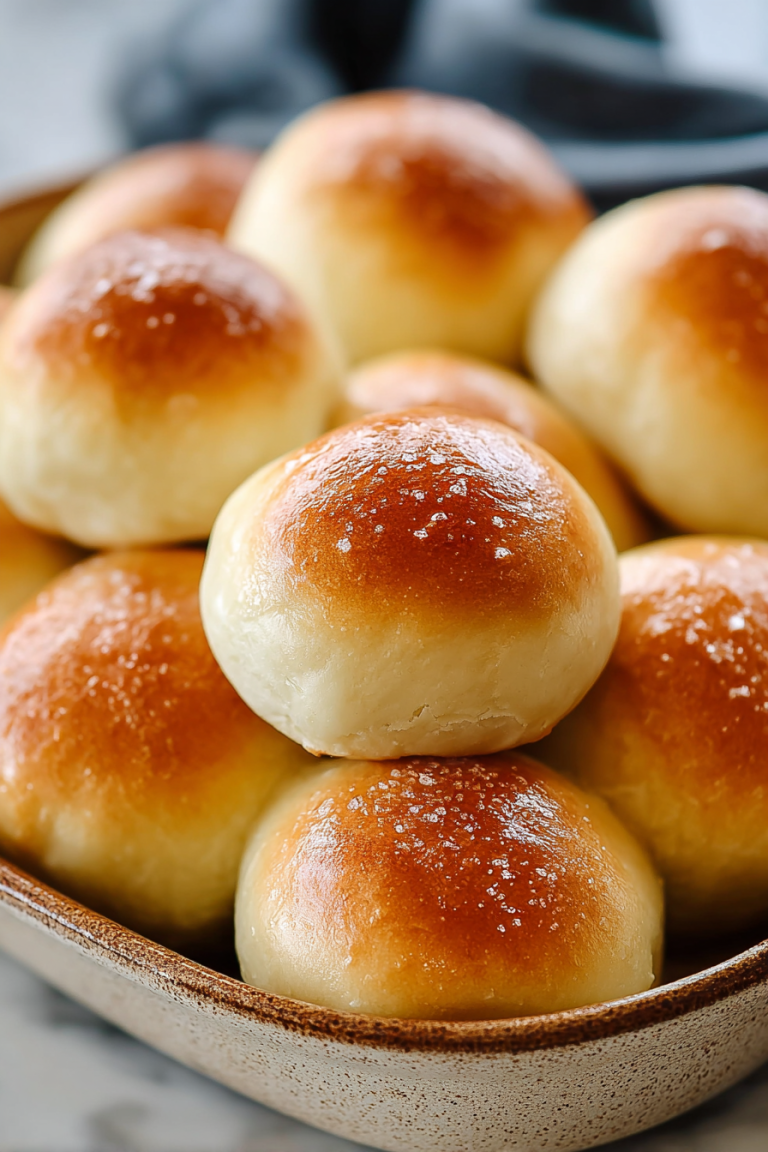
Easy Sourdough Rolls for Beginners
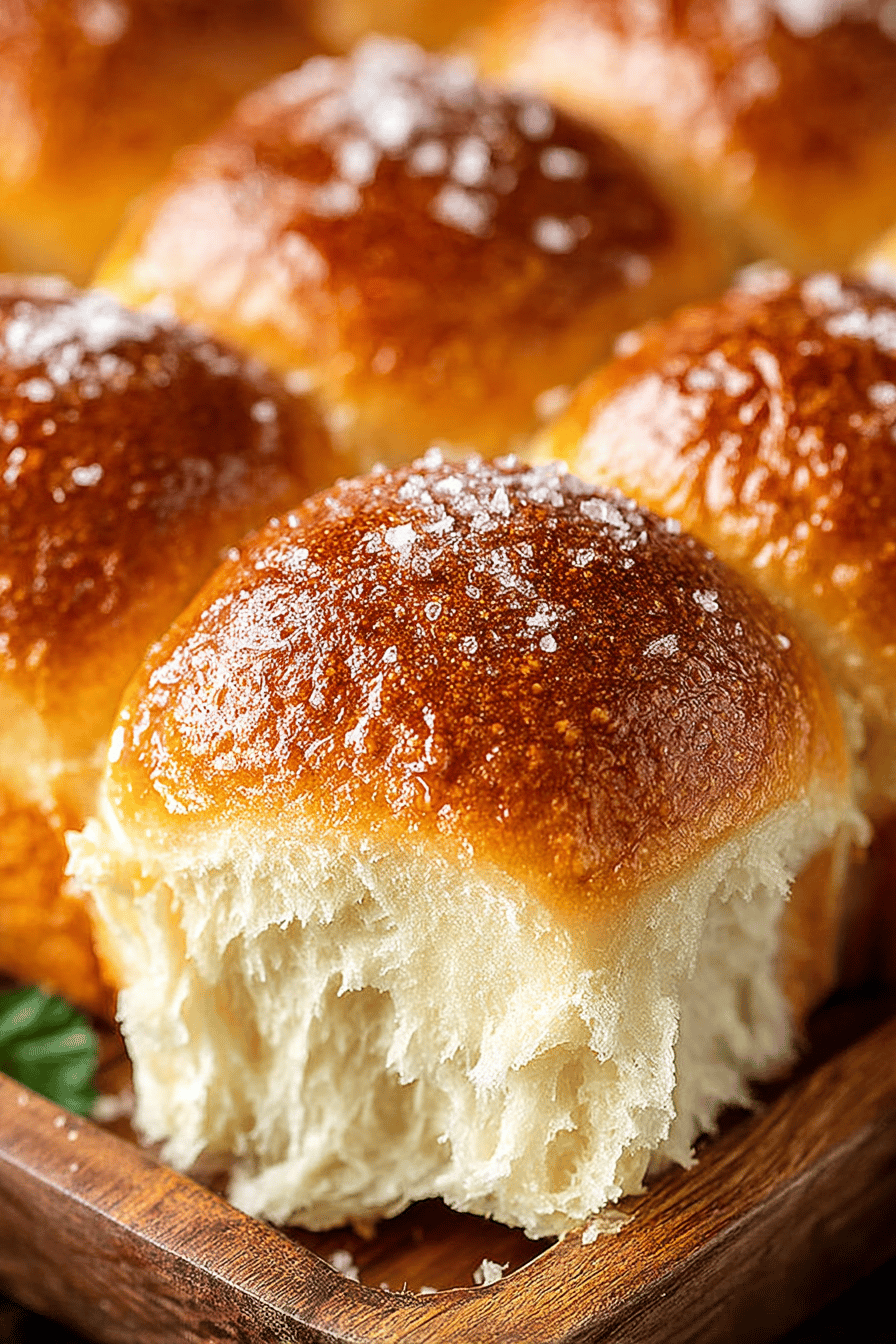
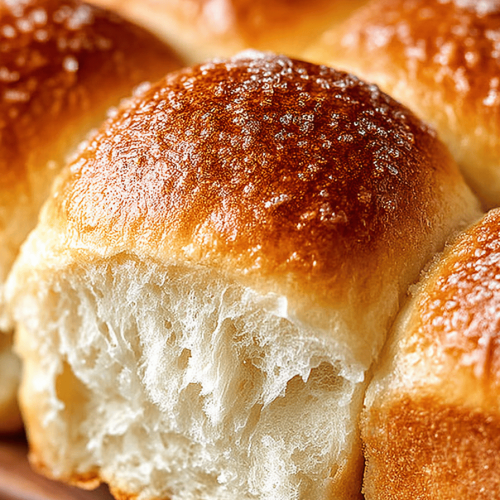
These are the soft, golden, pull-apart sourdough rolls that make people lean over the table and tear off “just one more.” They’re beginner-friendly in the truest sense: low-stress, flexible timing, and a dough that forgives you if you forget it for an extra 30 minutes on the counter. Flavor-wise, you get that mellow, tangy sourdough vibe without the “chewy brick” situation. They’re pillowy inside, shiny on top, and the kind of bread that makes butter feel like it finally found its purpose.
My husband calls these “danger rolls” because we never stop at one. On weeknights, I do the quick same-day version. On weekends, I tuck a pan of shaped rolls into the fridge and bake them off in the morning so the house smells like a bakery and everyone appears in the kitchen like raccoons. The toddler steals the middle roll (obviously the best one). We’ve made these for soup nights, Thanksgiving, and “oops, we only have eggs in the fridge” breakfasts. It’s our little family’s edible peace treaty.
Why You’ll Love This Easy Sourdough Rolls for Beginners
– The dough is chill. Mix, rest, a couple folds, done. No fancy gear, no dough trauma.
– Same-day or overnight—your schedule, not the dough’s.
– Soft and fluffy with real sourdough flavor (not too sour; just enough to taste like you meant it).
– Bake in a 9×13 for pull-apart dinner rolls or space them out for round bakery buns.
– Brushed-with-butter finish that makes everyone feral in a very cute way.
How to Make It
Feed your starter in the morning so it’s bubbly by early afternoon. You want it active—think domed top, lots of bubbles, it smells like yogurt and apples. Stir starter with warm water, a spoon of honey (or sugar), and melted butter or a little olive oil. Toss in flour and salt, mix till shaggy. Let it sit for 20–30 minutes so the flour drinks up the water. This little nap saves you kneading time.
MORE OF OUR FAVORITE…
Now give it a short knead—like 3–5 minutes—just to smooth it out. Pop it into a lightly oiled bowl, cover, and let it rise somewhere cozy until puffy, about 2–4 hours depending on room temp. If you remember, do a couple of gentle stretch-and-folds in the first hour; if you forget, honestly… it’ll be fine.
When it’s grown by about 60–75% and looks lively, plop it onto the counter. Divide into 12 pieces (aim for around 75–85 g each if you’re weighing). Tuck and roll each piece into a tight little ball. For dinner rolls, snug them into a greased 9×13 pan. For individual buns, space them out on a parchment-lined sheet. Cover and let proof until poofy and very soft to the touch—about 45–90 minutes. If you’re doing the overnight thing, slide the covered pan into the fridge now and bake straight from cold in the morning.
Brush with egg wash or milk if you want glossy tops. Bake at 425°F until deeply golden, 18–22 minutes (a few minutes longer if they were fridge-cold). As soon as they hit the counter, brush with melted butter and try—try!—to wait 10 minutes before tearing in.
Ingredient Notes
– Sourdough starter (100% hydration): Needs to be active and bubbly. If it sinks like a rock, feed it and wait. Flat starter = flat rolls.
– Bread flour: Gives soft structure and that bakery chew. All-purpose works, just a touch less lofty. Whole wheat? Swap up to 25% without drama.
– Water (warm): Cozy bath warm, not hot. If it’s too hot for your finger, it’s too hot for your yeasties.
– Honey or sugar: Tiny bit wakes things up and helps browning. I forget it sometimes; rolls still rise, just less color.
– Butter or olive oil: Butter = rich and nostalgic. Olive oil = lighter and a little fruitier. Both good.
– Salt: Non-negotiable. Without it, the dough tastes like wet cardboard. Ask me how I know.
– Instant yeast (optional “training wheels”): 1/2 teaspoon speeds things along on cold days. Doesn’t cancel the sourdough flavor, promise.
Recipe Steps
1. Feed starter and let it get bubbly and domed (4–6 hours at room temp).
2. Stir 100 g active starter, 300 g warm water, 15 g honey, and 30 g melted butter (or 2 tbsp olive oil) in a large bowl.
3. Add 500 g bread flour and 10 g fine sea salt; mix to a shaggy dough, then rest 20–30 minutes.
4. Knead 3–5 minutes until smoother; cover and bulk ferment until puffy and risen 60–75% (about 2–4 hours; add 1–2 stretch-and-folds if you like).
5. Divide into 12 pieces, shape into tight balls, arrange in a greased 9×13 or on a lined sheet; cover and proof 45–90 minutes until jiggly and airy.
6. Heat oven to 425°F, brush with milk or egg wash, bake 18–22 minutes until deep golden (200–205°F inside); brush with butter and cool 10 minutes.
What to Serve It With
– Big pots of chili or chicken noodle soup.
– Thanksgiving turkey and gravy. Or just gravy. No judgment.
– Breakfast sandwiches with eggs, cheddar, and hot sauce.
– Pulled pork or smashed meatball sliders.
– Jam and salted butter for a midnight snack situation.
Tips & Mistakes
– If your kitchen is chilly, give the dough more time. Under-proofed rolls bake dense and sad.
– Shaping matters: tuck edges under and tension-roll for smooth tops.
– Shiny tops need egg wash. Softer crust? Brush with milk. Extra soft? Butter after baking.
– Don’t over-flour your counter; sticky dough is annoying, but too much flour blocks a good seal.
– Overnight proof is your friend: better flavor, easier schedule.
Storage Tips
Room temp: Keep in a breathable bag or covered container up to 2 days. They stay soft; the crust might wrinkle and that’s cute.
Fridge: Honestly dries them out—toast or warm to revive.
Freeze: Wrap tightly and freeze up to 3 months. Reheat from frozen at 325°F for 10–12 minutes or split and toast.
Cold roll with butter at 7 a.m.? Bless you. Breakfast of champions.
Variations and Substitutions
– Flour swap: Use 25–30% whole wheat and increase water by a splash if the dough feels stiff.
– Dairy-free: Use olive oil and brush tops with oat milk. Still gorgeous.
– Sweetener: Honey ↔ sugar ↔ maple syrup. Same amount, slightly different vibe.
– Flavor add-ins: Fold in 1–2 tsp dried herbs, roasted garlic, or shredded cheddar during shaping.
– Toppings: Sesame, poppy, everything spice—press gently onto egg wash.
– Yeast booster: Cold day? Add 1/2 tsp instant yeast to the mix. Faster proof, same sourdough soul.
– Enriched version: Swap 1/2 cup of the water for warm milk for extra tender rolls.
Frequently Asked Questions
Easy Sourdough Rolls for Beginners
Ingredients
Main Ingredients
- 4 cups all-purpose flour
- 1 cup active sourdough starter (100% hydration) bubbly and recently fed
- 1 cup warm water about 95°F
- 2 tablespoons olive oil
- 1 tablespoon granulated sugar helps browning and fermentation
- 2 teaspoons fine sea salt
- 2 tablespoons unsalted butter, melted for brushing after baking
- 2 tablespoons sesame seeds optional topping
Instructions
Preparation Steps
- Make sure your sourdough starter is active and bubbly; feed it 4 to 12 hours before you start if needed.
- In a large bowl, whisk together warm water, active sourdough starter, olive oil, and sugar until loosely combined.
- Add flour and salt. Mix with a spatula until a shaggy dough forms and no dry spots remain.
- Rest the dough for 20 minutes (autolyse) to hydrate the flour and make kneading easier.
- Knead by hand on a lightly oiled surface for 5 to 8 minutes (or perform 3 sets of stretch-and-folds every 20 minutes) until smooth and slightly tacky.
- Place the dough in a lightly oiled bowl, cover, and let rise at room temperature until roughly doubled, 2 to 3 hours depending on room temperature and starter strength.
- Turn the dough onto the counter and divide into 12 equal pieces. Shape each piece into a tight ball by tucking the edges under and rolling under your palm.
- Arrange the balls on a parchment-lined 9x13 inch pan or baking sheet, spaced slightly apart. Cover and proof until puffy and nearly doubled, 45 to 60 minutes.
- Near the end of proofing, preheat the oven to 400°F. For extra steam, place a small pan of hot water on the lower rack.
- If using sesame seeds, lightly brush the tops with water or a touch of oil and sprinkle seeds over the rolls.
- Bake for 20 to 25 minutes until deep golden brown and the centers reach about 200°F.
- Brush hot rolls with melted butter. Cool on a rack for 10 minutes before serving.
Notes
Featured Comments
“Made this last night and it was family favorite. Loved how the perfect pair came together.”
“Super easy and absolutely loved! My family asked for seconds. Saving this one.”
“Made this last night and it was so flavorful. Loved how the anytime came together.”
“Impressed! Clear steps and so flavorful results. Perfect for busy nights.”
“Impressed! Clear steps and absolutely loved results. Perfect for busy nights.”
“Super easy and will make again! My family asked for seconds. Saving this one.”
“Super easy and family favorite! My family asked for seconds. Saving this one.”
“Impressed! Clear steps and will make again results. Perfect for busy nights.”
“New favorite here — turned out amazing. anytime was spot on.”
“Super easy and so flavorful! My family asked for seconds. Saving this one.”