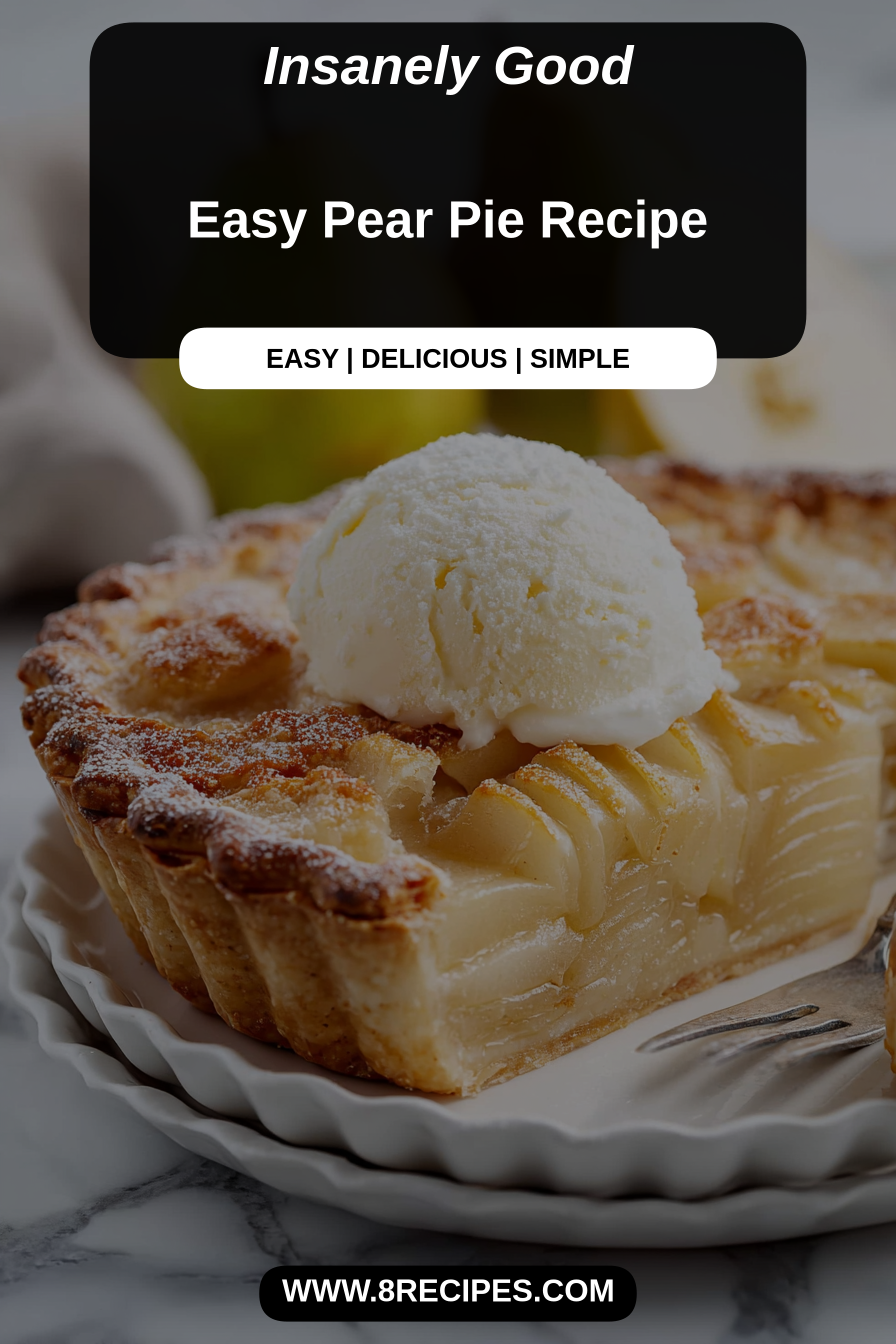
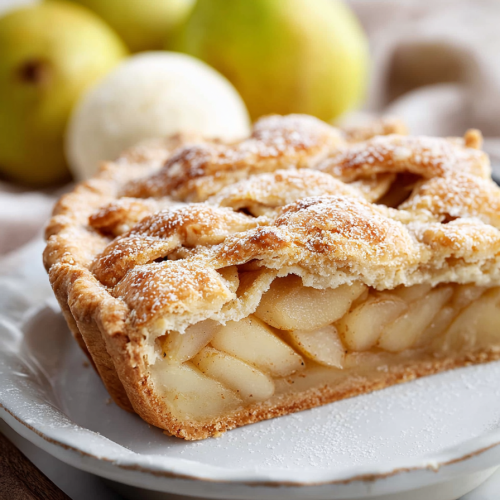
Easy Pear Pie Recipe
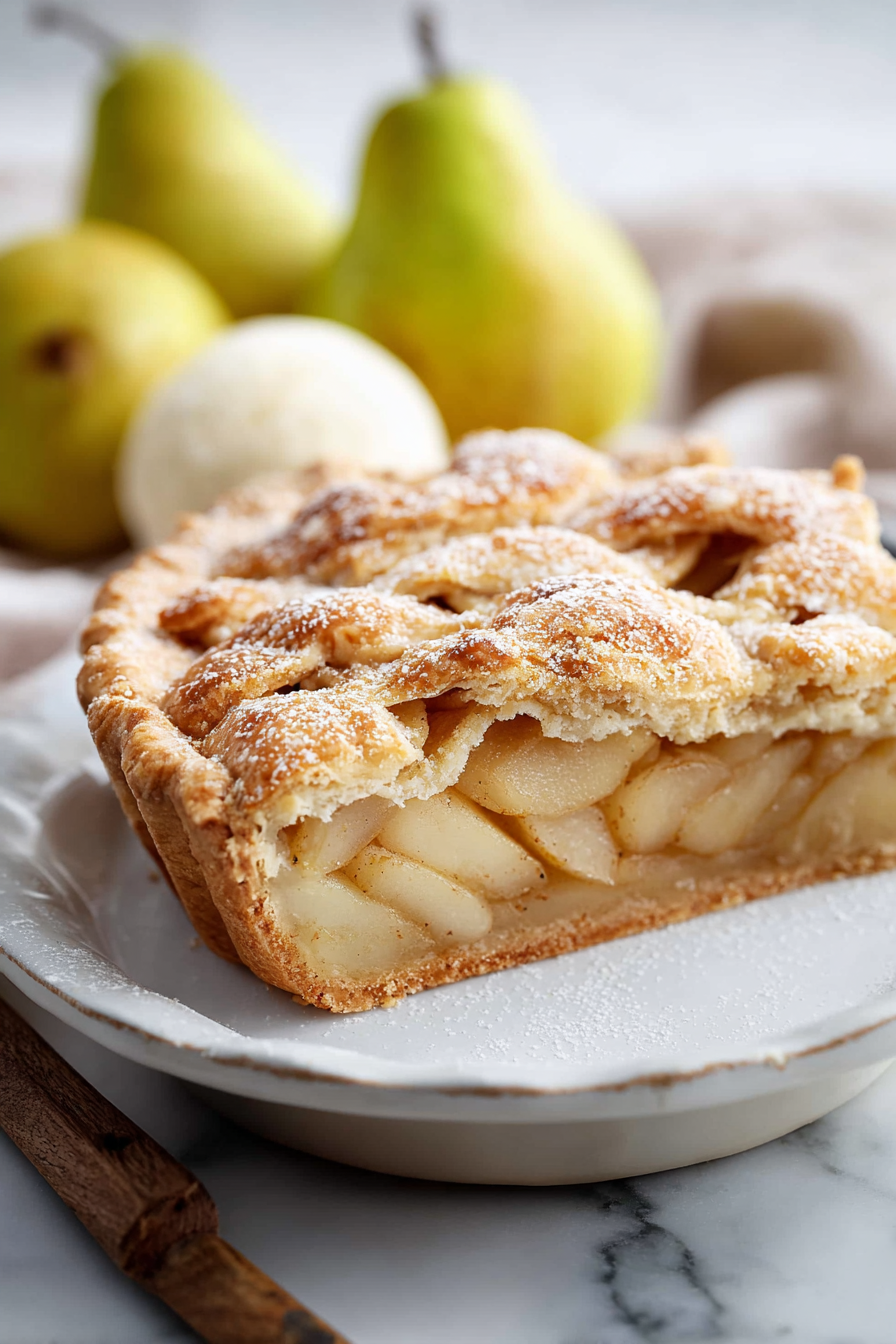
I love pears because they pretend to be fancy but are really low-maintenance — like a friend who shows up with a bottle of wine and no expectations. This is an easy pear pie: flaky crust that probably won’t fall apart (unless you overconfidence it), a cinnamon-kissed pear filling that somehow tastes like fall, and yes, it’s faster than crying over a fancy recipe you never finish. Make it because it’s comforting, because pears are underrated, and because you deserve pie that doesn’t require a small culinary degree.
One time my husband tried to help by peeling pears with a vegetable peeler while the kid loudly debated whether the pie should have “extra crunchy” on top (translation: raw pie). He somehow ended up with perfectly peeled pears and a kitchen that looked like a confetti explosion. Me, trying to look calm: “Great job!” Internally: “Yes, thank you for hitting ‘scatter’ on the counter.” We ate the pie, shared crumbs with the dog, and called it a team effort. Also, I learned my husband cannot be trusted with the lattice top unless supervised. Loudly.
Why You’ll Love This Easy Pear Pie Recipe
– It’s forgiving. Miss a step? The pie will still love you. Unlike some people.
– Pears give you that cozy, caramelized flavor without faking it with a dozen spices.
– Minimal fuss, maximal reward — like wearing stretchy pants to a wedding.
– Great for dinner guests, or for one person who absolutely needs three slices right now.
Time-Saving Hacks
– Use store-bought pie crust. I said it. No one needs a lecture from Martha today.
– Slice pears with a mandoline or a very steady hand — I use the mandoline when I’m feeling alive.
– Bake on a sheet pan to catch the drips and save a pan (one less thing to regret washing later).
MORE OF OUR FAVORITE…
Serving Ideas
– Serve warm with a scoop of vanilla ice cream — because melting ice cream on pie makes you feel like a professional.
– Drizzle with honey or a bit of bourbon glaze if you’re pretending this is a restaurant.
– Serve with wine if the kids drove you nuts today. Full disclosure: sometimes I do both ice cream and wine. Don’t judge.
– Or just eat it straight from the pan. No shame in the comfort-pie-game.
What to Serve It With
A simple green salad, a hunk of sharp cheddar (weirdly delightful), or coffee that tries to act like dessert. Keep things simple: the pie is the star and everything else is background noise.
Tips & Mistakes
– Pro tip: Toss sliced pears in a little lemon juice so they don’t brown while you argue over the lattice.
– Don’t do this: Don’t rinse pears under water to “clean them faster.” You’ll end up with soggy fruit and regrets.
– If your crust shrinks: chill it longer next time and stop telling it secrets in the oven.
– Overfill the pie and you’ll have a syrupy bake that’s delicious but messy. Embrace the mess if you must.
Storage Tips
Store it in the fridge… if there’s any left. Cold midnight leftovers? Sometimes better than fresh. For longer storage, freeze slices wrapped tightly in foil and a zipped bag. Reheat gently so the crust doesn’t rehydrate into sadness.
Variations and Substitutions
Swap whatever you want—sugar ↔ honey, soy sauce ↔ tamari, or skip steps and call it “deconstructed.” It still counts. Add chopped nuts for crunch, swap pears for apples if that’s what you have, or stir in a handful of raisins for the people who still think raisins belong in everything.
Easy Pear Pie Recipe
Ingredients
Main Ingredients
- 0.5 cups Sugar can be adjusted to taste
- 3 medium Pears, peeled and sliced use ripe pears for best flavor
- 1 tablespoon Lemon juice
- 1 tablespoon Ground cinnamon
- 1 tablespoon Butter, melted
- 1 pie crust Pre-made pie crust store-bought or homemade
Instructions
Preparation Steps
- Preheat the oven to 350°F (175°C).
- In a bowl, combine the sliced pears, sugar, lemon juice, and cinnamon. Toss gently to mix.
- Place the pear mixture into the prepared pie crust and drizzle with melted butter.
- Bake in the preheated oven for 45 minutes or until the pears are tender and the crust is golden brown.
- Allow to cool slightly before slicing and serving.
Notes
Featured Comments
“Impressed! Clear steps and will make again results. Perfect for busy nights.”
“Made this last night and it was absolutely loved. Loved how the creamy came together.”
“New favorite here — will make again. sweet treat was spot on.”
“This rich recipe was family favorite — the sweet treat really stands out. Thanks!”
“Super easy and will make again! My family asked for seconds. Saving this one.”
“Made this last night and it was turned out amazing. Loved how the creamy came together.”
“Super easy and so flavorful! My family asked for seconds. Saving this one.”
“New favorite here — so flavorful. rich was spot on.”
“Impressed! Clear steps and so flavorful results. Perfect for busy nights.”
“Made this last night and it was will make again. Loved how the rich came together.”