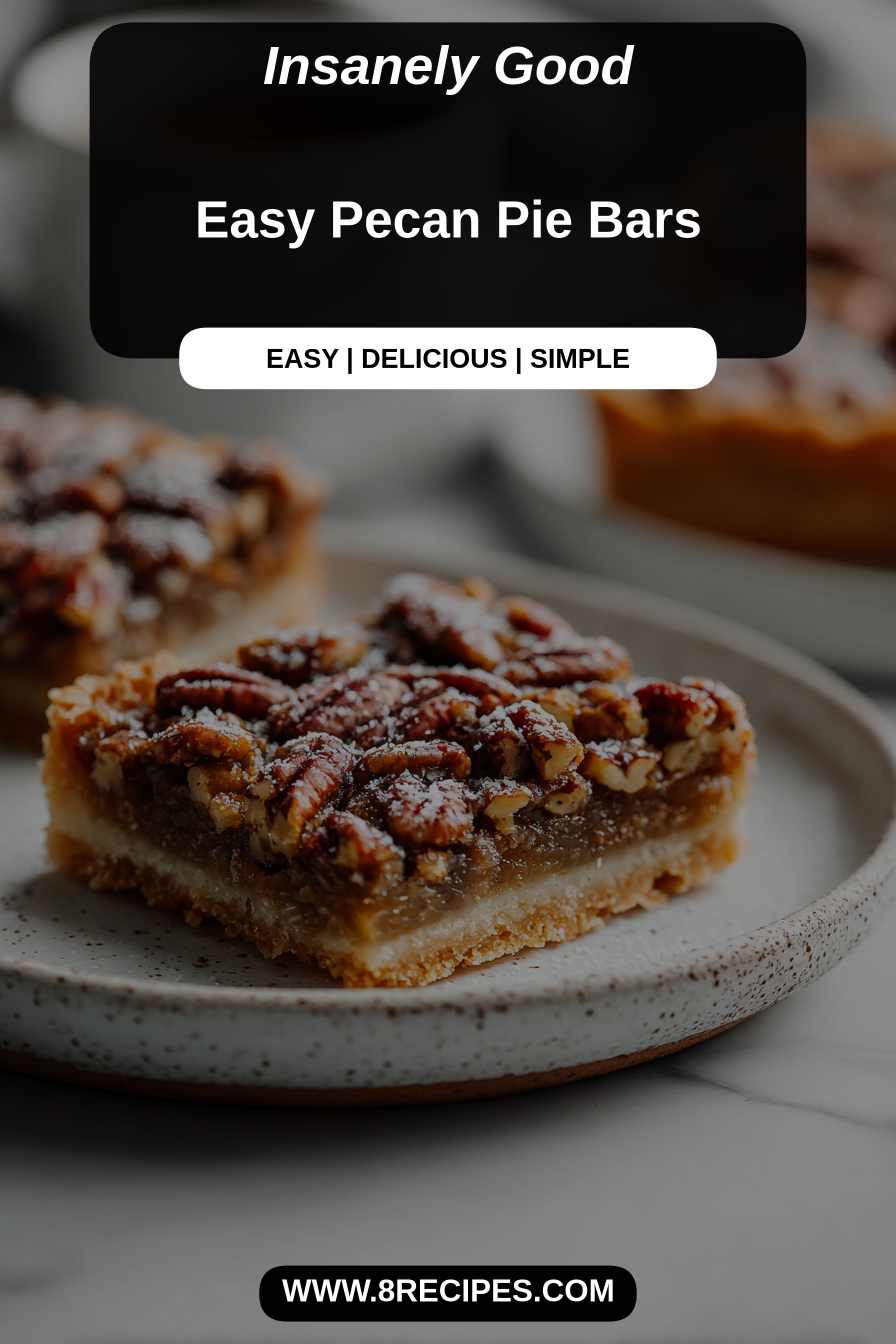
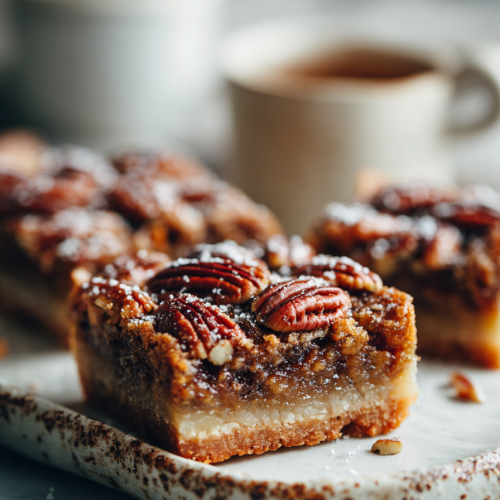
Easy Pecan Pie Bars
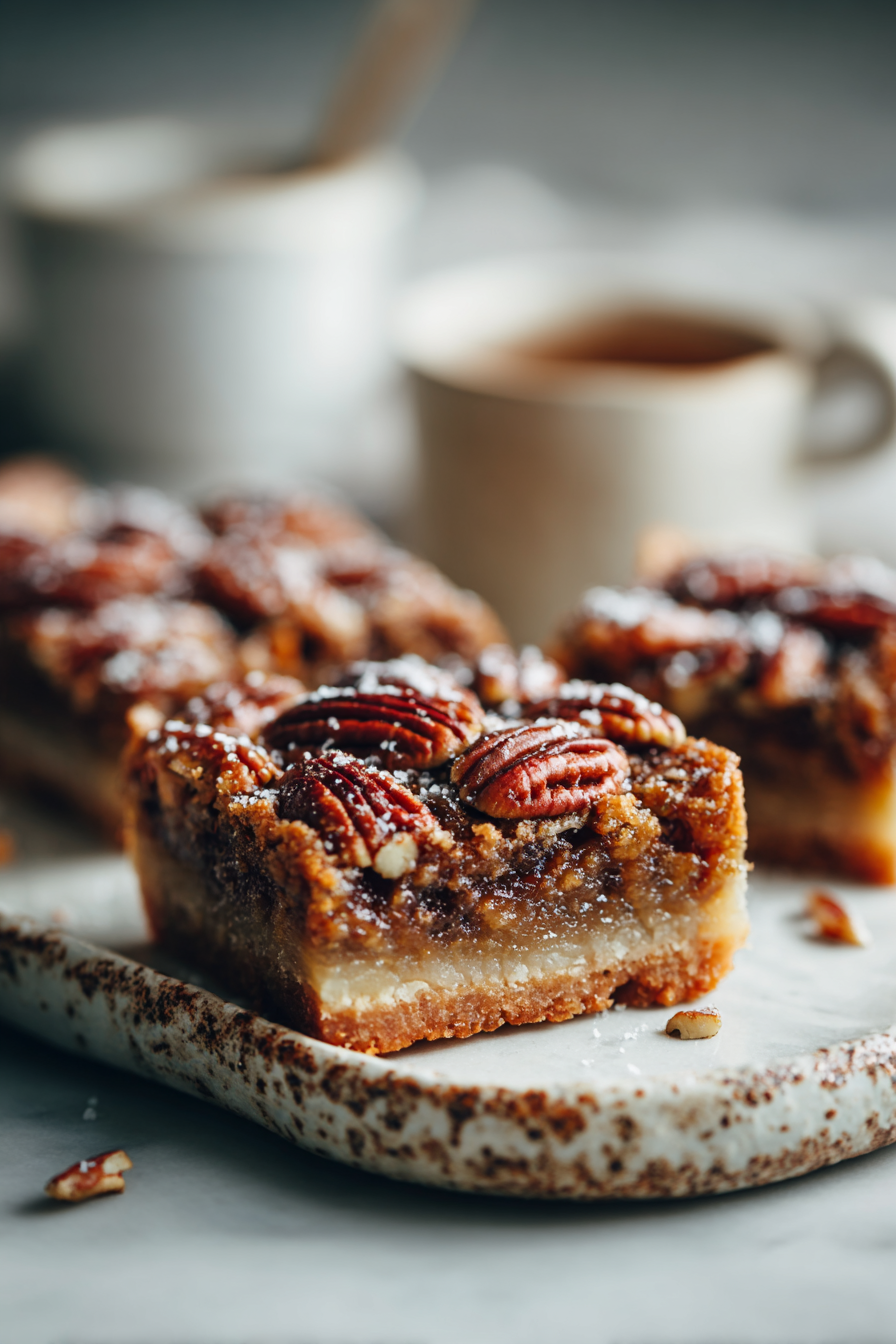
I made these because I wanted all the sticky, nutty joy of pecan pie without wrestling a pie crust or pretending my eight-inch pan was big enough. These Easy Pecan Pie Bars hit the sweet spot: buttery crust, gooey pecan topping, and zero judgment if you eat half the pan with a spoon. Also, fewer forks to wash — I lied, there will still be dishes.
My husband once tried to “speed up” dessert prep by microwaving the corn syrup — in the jar — because “it’s just sugar and air.” Long story short: his eyebrows survived, the jar did not, and I now supervise any activity involving bottles, flames, or good intentions. The kids helped by taste-testing every fallen pecan off the counter; I’m still finding crumbs in the couch. We all survived, and the bars were the only thing left on the counter not smeared with sticky fingerprints.
Why You’ll Love This Easy Pecan Pie Bars
– Portable: no delicate pie crust to cry over. Eat in the car at red lights if that’s your thing (don’t actually do that).
– Crowd-pleaser: people pretend they only want a small piece and then come back for thirds.
– Simple-ish: if you can measure, melt, and press dough into a pan, you’re practically a pastry chef.
– Forgiving: slightly overbaked? Still tasty. Slightly underbaked? Still sticky and delicious. Win-win.
Time-Saving Hacks
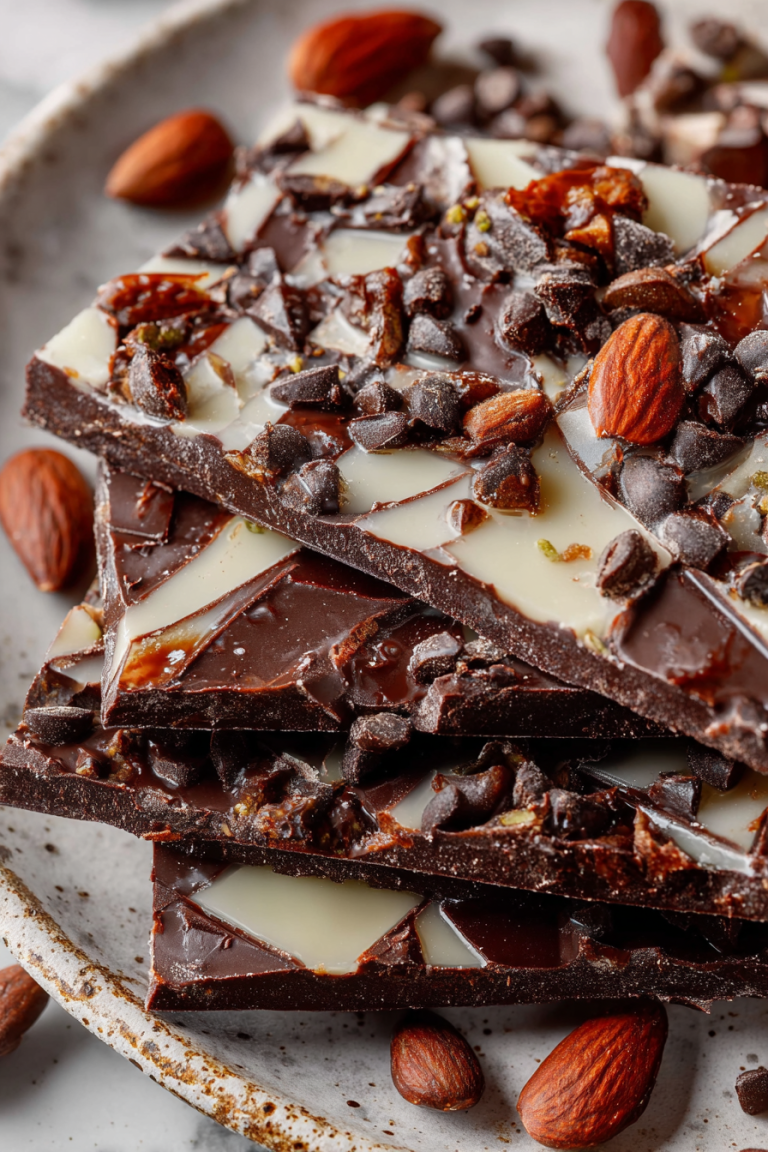
– Use pre-chopped pecans or toss whole ones into a zip-top and give them a few whacks with a rolling pin. Less cutting, same crunch.
– Buy store-bought pie crust or shortbread crust if you’re not emotionally available for making dough. I won’t judge; I might ask for a slice.
– Melt butter and corn syrup in the microwave in 30-second bursts to avoid setting off the smoke alarm and the usual chaos.
– Line the pan with parchment so you can lift the whole slab out like it’s a baking miracle and wash one pan instead of three. Yes, I said one.
– Press the crust with the bottom of a measuring cup so your palm doesn’t get crust-shaped blisters. Practical and fancy-looking.
MORE OF OUR FAVORITE…
Serving Ideas
– Warm with vanilla ice cream and a crowning drizzle of caramel — go full drama.
– With black coffee for breakfast if you’re the type who eats dessert before the main course and calls it “brunch.”
– Serve with bourbon for adults, and juice boxes for the kids. Or the other way around if your kids are particularly terrifying.
– Keep it simple: plate a square and hand it to someone you want to impress without actually trying.
What to Serve It With
– Vanilla ice cream or whipped cream.
– Strong coffee, espresso, or a glass of cold milk for balance.
– A little spoonful of salted caramel if you feel fancy and slightly dangerous.
Tips & Mistakes
– Don’t overbake: the center should jiggle a bit when you pull it from the oven; it continues to set as it cools.
– Pan size matters: use the size the recipe calls for. Yes, I learned this the hard way when my “deep-dish” experiment turned into a lava cake.
– Chop nuts unevenly: a mix of pieces and halves gives texture and looks like you tried harder than you did.
– Cool completely: slicing too soon gives you runny squares and a very sincere mess. Let patience be your secret ingredient.
Storage Tips
Store it in the fridge… if there’s any left. Cold midnight leftovers? Sometimes better than fresh. For the organized humans: cover tightly and refrigerate up to 5–7 days, or wrap in foil and freeze portions for up to 2 months.
Variations and Substitutions
Swap whatever you want—sugar ↔ honey, soy sauce ↔ tamari, or skip steps and call it “deconstructed.” It still counts. Try maple syrup instead of corn syrup for a cozy twist, add chocolate chips for instant popularity, or switch pecans for walnuts if your neighbor owes you a favor. For gluten-free, press a nut-and-oat crust and call it intentional.
Frequently Asked Questions
Easy Pecan Pie Bars
Ingredients
Main Ingredients
- 1.1 cups all-purpose flour Sifted for best results
- 0.5 cups brown sugar Packed tightly
- 0.25 cups granulated sugar
- 0.5 cups unsalted butter Melted
- 1 cup pecan halves Chopped if desired for better texture
- 0.5 cups corn syrup Light or dark, per preference
- 2 large eggs eggs Room temperature for best results
- 1 teaspoon vanilla extract For enhanced flavor
Instructions
Preparation Steps
- Preheat your oven to 350°F (175°C) and grease a 9x9-inch baking pan.
- In a mixing bowl, combine flour, brown sugar, and granulated sugar.
- Pour in melted butter and mix until crumbly.
- Press the mixture evenly into the prepared baking pan to form the crust.
- In another bowl, whisk together corn syrup, eggs, and vanilla extract until smooth.
- Stir in the chopped pecans, then pour this filling over the crust.
- Bake for 30 minutes or until the top is firm and golden.
- Allow to cool before slicing into bars and serving.
Notes
Featured Comments
“Impressed! Clear steps and will make again results. Perfect for busy nights.”
“Impressed! Clear steps and will make again results. Perfect for busy nights.”
“New favorite here — absolutely loved. rich was spot on.”
“Impressed! Clear steps and will make again results. Perfect for busy nights.”
“Made this last night and it was family favorite. Loved how the rich came together.”
“Super easy and family favorite! My family asked for seconds. Saving this one.”
“Made this last night and it was turned out amazing. Loved how the crowd-pleaser came together.”
“Made this last night and it was family favorite. Loved how the sweet treat came together.”
“Impressed! Clear steps and so flavorful results. Perfect for busy nights.”
“New favorite here — turned out amazing. rich was spot on.”