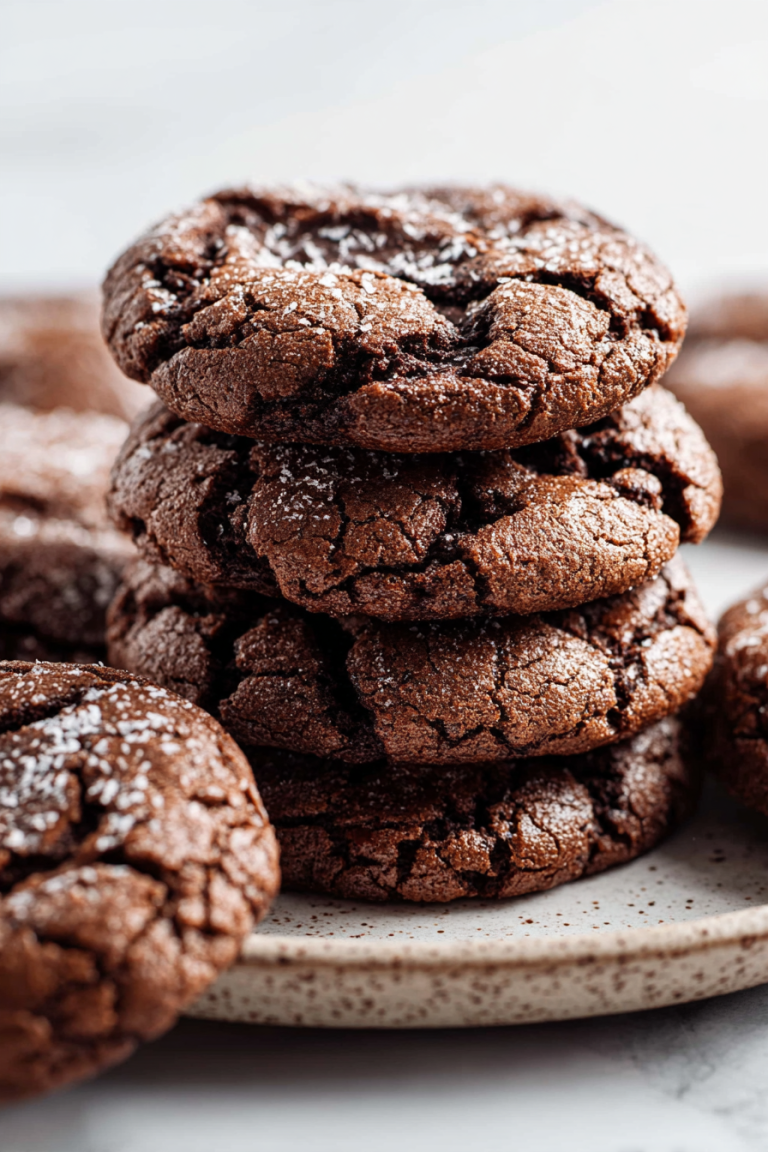
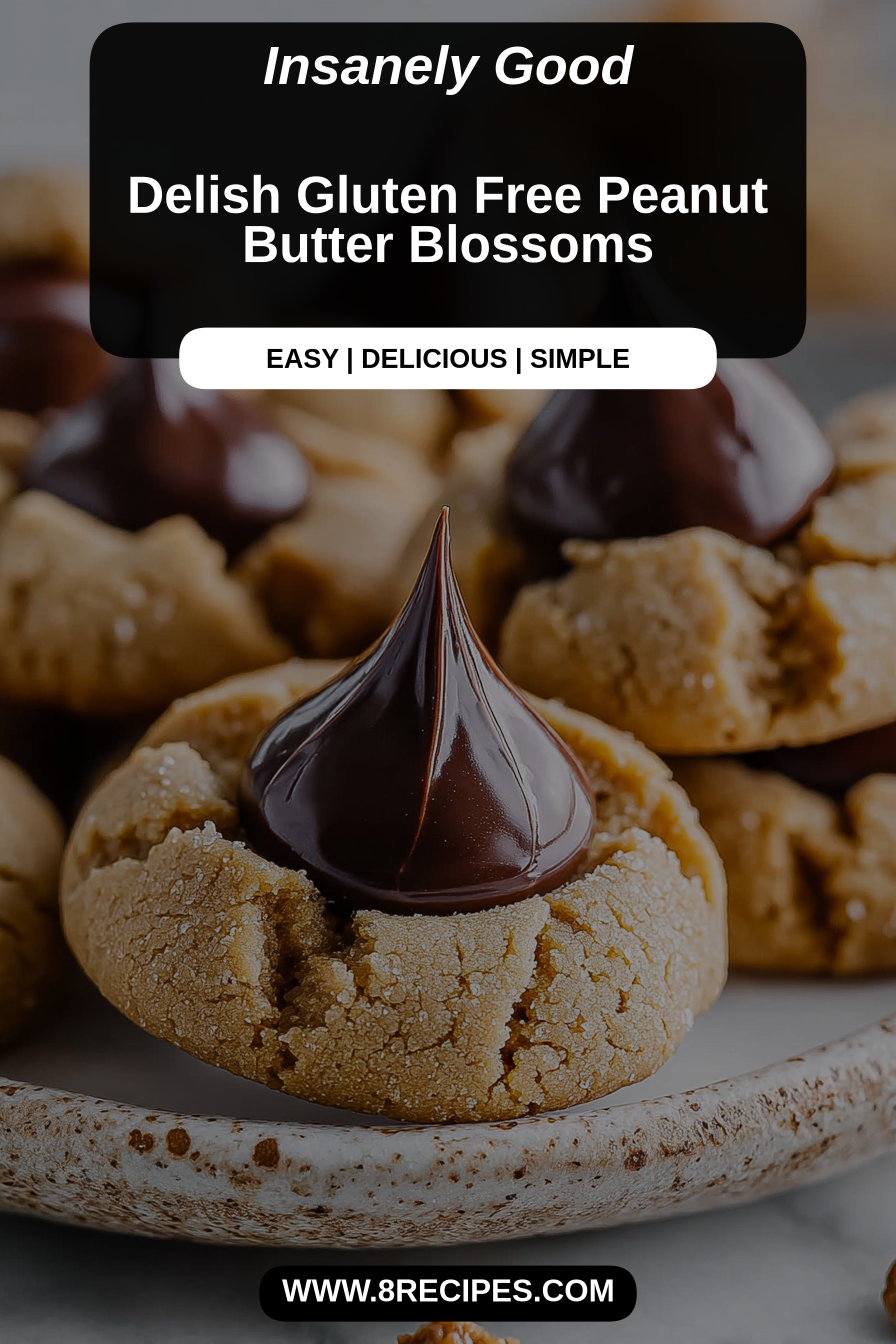
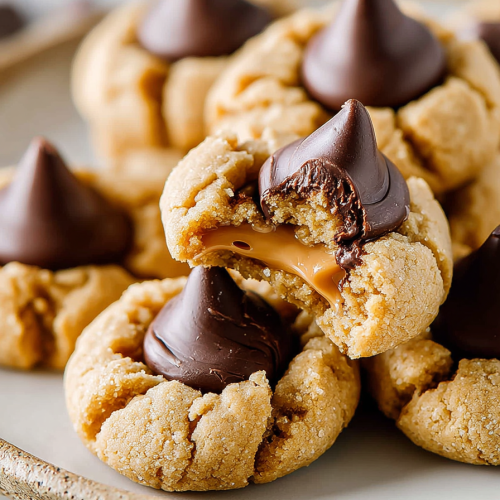
Delish Gluten Free Peanut Butter Blossoms
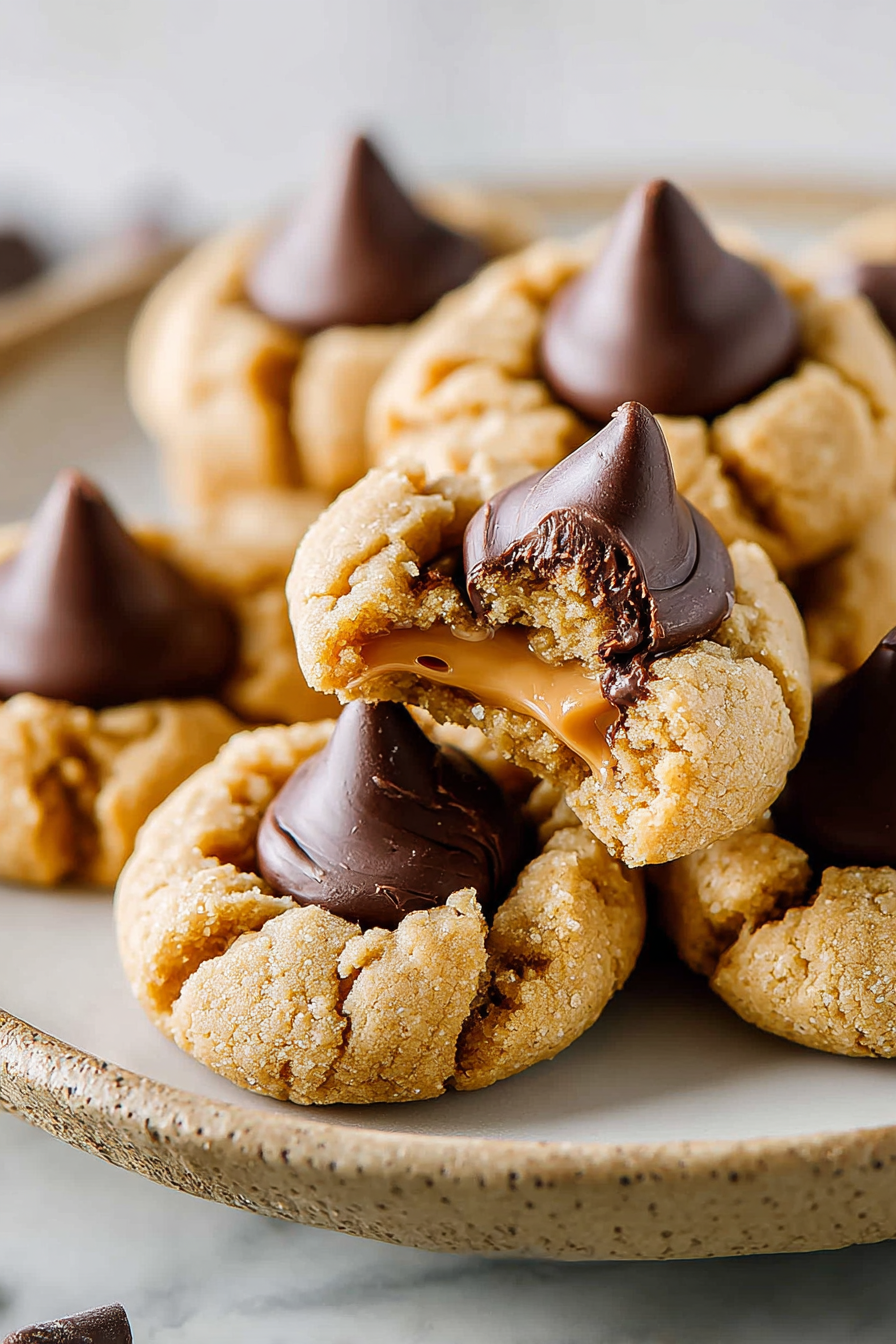
I will never say no to a peanut butter blossom. Chewy peanut-buttery-cookie hugs with a chocolate kiss on top—gluten-free so your gut can keep the party going. These Delish Gluten Free Peanut Butter Blossoms are exactly what they sound like: all the nostalgia of bake-sale triumphs without the wheat-y betrayal. Try them because they’re quick, crowd-pleasing, and perfect for pretending you’re a responsible baker who plans ahead. Yields: roughly 24 cookies (or 12, if you snack directly from the dough like a heathen). Hands-on: 20 minutes, plus time to lick the spoon and regret nothing.
Once, I proudly presented a fresh tray to my family and my husband asked if they were “artisan dog treats.” I laughed until I realized he’d eaten three and was reaching for more. My son tried to dunk one in coffee (kid, you’re seven), and my daughter used a Hershey kiss as currency in a very strict toy auction. The chaos made them taste better, I swear—also messier. I learned two things: 1) never bake with a white shirt, and 2) always hide a spare cookie for yourself before the bidding begins.
Why You’ll Love This Delish Gluten Free Peanut Butter Blossoms
– Textural magic: crisp-ish edges, soft centers, and that gooey chocolate button—comfort in single-bite form.
– Gluten-free without trying too hard: you get the nostalgia without the bloat. No one needs regret with their cookies.
– Kid- and adult-approved: little hands call them “stars,” adults call them “therapy.” Both are right.
– Low drama, high reward: you don’t need a stand mixer or life-altering ingredients. Read: you will survive this.
Time-Saving Hacks
– Use store-bought gluten-free flour blend. It tastes less artisanal and more like dessert—win.
– Skip chilling if you’re impatient. The cookies might spread a bit more, which is just “rustic.”
– Roll dough with a cookie scoop to avoid a dozen sticky palms. Yes, the scoop is your friend.
– Line a single baking sheet with foil instead of parchment. Fewer dishes, slightly more crime against the environment.
– Microwave chocolate kisses for 5–7 seconds to soften before pressing—works every time (except when you forget and they explode).
MORE OF OUR FAVORITE…
Serving Ideas
– With milk: classic, adult-approved nostalgia.
– With coffee: because sometimes breakfast needs a side of chocolate.
– With wine: if the kids drove you nuts. Pairs surprisingly well with a Pinot Noir (don’t tell the kids).
– On a party platter: stick a label on them reading “gluten-free,” then watch people pretend they read it.
– Or just hand them out like tiny bribes. Honest, effective.
What to Serve It With
Think simple: a big jug of milk, a thermos of hot chocolate for winter, or a tray of mismatched mugs for brunch. If you want to go gourmet, add a small bowl of flaky sea salt to sprinkle on top—classy chaos.
Tips & Mistakes
– If your cookies flatten into sad pancakes, your dough was too warm or the oven too forgiving. Chill briefly next time.
– Don’t overbake. Pull them out when edges look set and centers still give you side-eye. They finish cooking on the sheet.
– I once forgot the sugar coat and blamed the oven. Truth: I was lazy. Roll the balls in sugar; people notice.
– Use fresh baking soda and powder—old ones are just pretending to do their job.
– If your peanut butter is oily, stir it first. If you cry about stirring, I get it. I do too.
Storage Tips
Store it in the fridge… if there’s any left. Cold midnight leftovers? Sometimes better than fresh. Also: room temp in an airtight container for 3–4 days, or freeze baked cookies between layers of parchment for up to 3 months. Thaw like a civilized person (or shove them in your mouth, I don’t judge).
Variations and Substitutions
Swap whatever you want—sugar ↔ honey, soy sauce ↔ tamari, or skip steps and call it “deconstructed.” It still counts. Want chocolate kisses swapped for caramel candies? Go wild. Use almond butter for a different nut vibe, or add a pinch of cayenne if you’re trying to impress someone who thinks spice is personality.
Delish Gluten Free Peanut Butter Blossoms
Ingredients
Main Ingredients
- 1 cup peanut butter
- 0.75 cup sugar
- 0.5 cup brown sugar
- 1 each egg large
- 1 teaspoon vanilla extract
- 1.5 cups gluten-free flour
- 0.5 teaspoon baking soda
- 0.5 teaspoon salt
- 24 each chocolate kisses
Instructions
Preparation Steps
- Preheat your oven to 350°F (175°C).
- In a bowl, mix peanut butter, sugar, brown sugar, egg, and vanilla extract until well combined.
- In a separate bowl, whisk gluten-free flour, baking soda, and salt together.
- Gradually add the dry ingredients to the peanut butter mixture and blend until combined.
- Scoop tablespoon-sized balls of dough and place them on a baking sheet.
- Bake for 10 minutes, then remove from the oven and press a chocolate kiss into the center of each cookie.
- Allow cookies to cool on the baking sheet for a few minutes before transferring them to a wire rack.
Notes
Featured Comments
“This sweet treat recipe was family favorite — the crowd-pleaser really stands out. Thanks!”
“Made this last night and it was absolutely loved. Loved how the crowd-pleaser came together.”
“This crowd-pleaser recipe was absolutely loved — the sweet treat really stands out. Thanks!”
“Impressed! Clear steps and turned out amazing results. Perfect for busy nights.”
“Super easy and will make again! My family asked for seconds. Saving this one.”
“Super easy and turned out amazing! My family asked for seconds. Saving this one.”
“Impressed! Clear steps and absolutely loved results. Perfect for busy nights.”
“Super easy and absolutely loved! My family asked for seconds. Saving this one.”
“Made this last night and it was turned out amazing. Loved how the crowd-pleaser came together.”
“New favorite here — absolutely loved. crowd-pleaser was spot on.”