Easy Crisp Bean Burritos
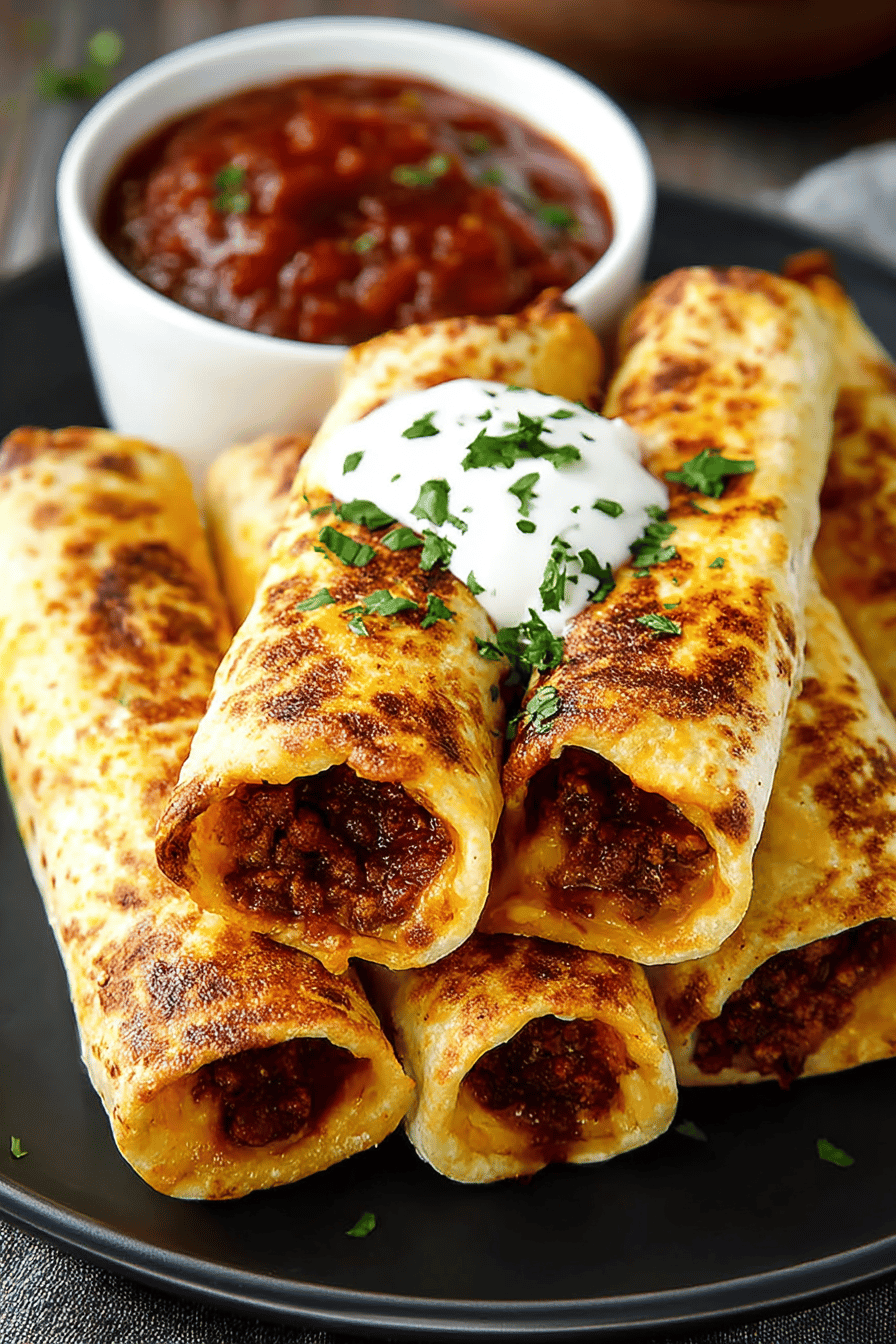
These are the crispy, cheesy, pantry-hero burritos I make when we’re all hungry-right-now and there’s exactly one clean pan left. Refried beans get zhuzhed up with salsa and a little spice, tucked into warm tortillas with melty cheddar, and seared until shatter-crisp on the outside and creamy inside. They feel like a drive-thru moment, but you made them at home in 20 minutes. Yes please.
My husband calls these “movie night burritos” because he’ll eat two while wrestling the remote from the kids, and then I’ll catch him reheating a third after everyone’s in bed. It started as a “we have nothing in the fridge” dinner and somehow turned into a full-on tradition. I once packed them for a road trip and he tried to barter one for coffee at a gas station. Did not work, but it tells you something.
Why You’ll Love This Easy Crisp Bean Burritos
– Fast, crunchy, comforting—like a diner-griddle moment in your own kitchen.
– Budget-friendly and kid-approved, but grown-ups shamelessly hoard leftovers.
– Zero-fuss ingredients you probably have: beans, tortillas, cheese, salsa. Done.
– They crisp like a dream in a skillet, the oven, or the air fryer—pick your path.
– Freezer-friendly for power lunches and 11 p.m. cravings alike.
How to Make It
Okay, here’s the play: warm up a can (or two) of refried beans with a spoonful of salsa and a pinch of chili powder so they spread silky instead of clumpy. Heat your tortillas just enough so they don’t crack—microwave in a damp towel or toss them one-by-one in a dry skillet for 10 seconds. Pile on beans, a fistful of shredded cheese, maybe a little onion if you like a tiny crunch. Roll tight like a little burrito torpedo—tuck the sides in, then roll so the seam sits on the bottom.
MORE OF OUR FAVORITE…
Now, heat a slick of oil in a skillet until it shimmers, and lay the burritos seam-side down. Don’t move them yet—let the tortilla crisp and seal. Flip once it’s golden. Two or three minutes per side and you’ll hear that gentle crunch when your spatula taps it. If you’re feeling virtuous (or just tired), air fry or bake them. Either way: finish with a squeeze of lime and a proud sprinkle of salt. Then disappear one before you call everyone to the table. I won’t tell.
Ingredient Notes
– Refried beans: The heart of it. Warm them with a splash of salsa or water so they spread easily and don’t tear your tortilla. Pinto or black—both work.
– Flour tortillas (8-inch): The sweet spot size. Warm them or they crack and you’ll cry a little. Gluten-free tortillas can work if you pre-warm them really well.
– Cheddar or pepper jack: Cheddar melts classic; pepper jack adds pep. Shred it yourself if you can—bagged works, but fresh melts nicer.
– Salsa: Stir a few spoonfuls into the beans for flavor and moisture. Chunky salsas are great; just don’t overdo it or the burritos burst.
– Onion (optional): Finely minced for a little crunch and bite. Raw in the burrito or sautéed first if you want it sweeter.
– Chili powder + cumin: A pinch wakes the beans up. Taco seasoning works in a pinch too—no shame.
– Oil or butter: For that crisp shell. Neutral oil for classic crunch; butter for a toasty, golden vibe.
– Lime + salt: A squeeze and sprinkle at the end makes everything pop. Don’t skip it unless you must.
Recipe Steps
1. Warm 2 cans (15 oz each) refried beans in a saucepan with 1/2 cup salsa, 1 tsp chili powder, and 1/2 tsp cumin until smooth and spreadable.
2. Heat 8 flour tortillas (8-inch) until pliable—microwave in a damp towel 30 seconds or warm briefly in a dry skillet.
3. Spread 1/3 cup beans down the center of each, add 3–4 tbsp shredded cheese and a little minced onion; fold sides in and roll tight.
4. Chill burritos 5–10 minutes in the fridge (optional but helps them hold) while you heat a large skillet over medium with 2–3 tbsp oil.
5. Sear burritos seam-side down 2–3 minutes per side until deeply golden and crisp; transfer to a wire rack and sprinkle with a pinch of salt.
6. Serve hot with lime wedges and salsa; oven option: 425°F on a lightly oiled sheet 12–15 minutes (flip once). Air fryer: 390°F for 8–10 minutes.
What to Serve It With
– Quick guac or sliced avocado with lime and flaky salt
– Pico de gallo or your favorite jarred salsa
– A crunchy slaw with lime and cilantro
– Mexican rice or a simple corn salad
– Hot sauce—Valentina, Tapatío, Cholula… choose your fighter
– Sour cream or a 2-minute yogurt-lime crema
Tips & Mistakes
– Warm the tortillas or they’ll crack—non-negotiable.
– Don’t overfill. It’s tempting. Resist. Burritos explode when bossed around.
– Let the seam side sit undisturbed for a minute to seal before flipping.
– Use a wire rack after frying to keep that crisp; plates make steam = soggy.
– Too dry? Add a splash more salsa to the beans next time.
– Too greasy? Use less oil or switch to air fryer/oven.
Storage Tips
Fridge: Wrap cooled burritos in foil or stash in a lidded container up to 4 days. Reheat in a skillet or air fryer for the crunch back—microwave works, but it softens the shell.
Freezer: Freeze on a sheet tray, then bag for up to 2 months. Reheat from frozen in the air fryer (360°F, 12–14 min) or oven (400°F, 20–25 min).
Cold breakfast burrito from the fridge? I have done worse. It’s still good, especially with hot sauce.
Variations and Substitutions
– Bean swap: Black refried beans or mashed seasoned black beans both work.
– Cheese-free: Go dairy-free with a melty vegan cheese or skip it and add sautéed onions for richness.
– Protein boost: Add cooked, seasoned ground turkey, chorizo, or shredded chicken—just keep fillings dry-ish so they crisp.
– Spice vibes: Add chipotle chili powder or a spoon of adobo for smoky heat.
– Sauce switch: Enchilada sauce instead of salsa makes it saucier—use less so it doesn’t burst.
– Gluten-free: Use sturdy GF tortillas and warm them extra well before rolling.
– Breakfast twist: Scrambled eggs + beans + cheese. Fry like usual. Dangerous in the best way.
Frequently Asked Questions
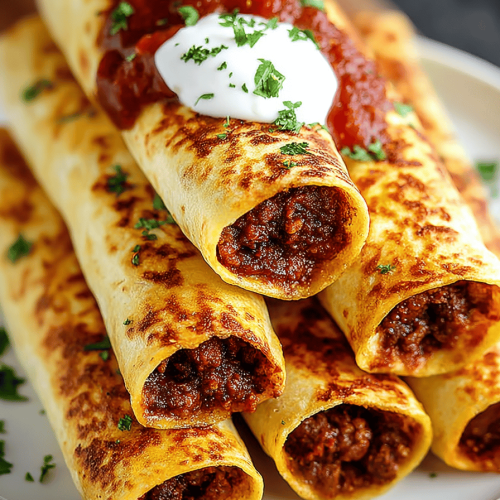
Easy Crisp Bean Burritos
Ingredients
Main Ingredients
- 3.75 cups refried beans (canned)
- 0.5 cup salsa
- 0.5 cup yellow onion, finely chopped
- 2 tablespoons taco seasoning
- 1 teaspoon garlic powder
- 1 teaspoon ground cumin
- 0.5 teaspoon kosher salt
- 0.25 teaspoon black pepper
- 2 cups shredded cheddar cheese
- 8 count flour tortillas (8-inch)
- 0.25 cup vegetable oil for pan-frying
- 0.5 cup sour cream optional, for serving
- 0.25 cup fresh cilantro, chopped optional, for serving
- 2 tablespoons hot sauce optional
Instructions
Preparation Steps
- In a bowl, mix refried beans, salsa, onion, taco seasoning, garlic powder, cumin, salt, and pepper until smooth and spreadable.
- Warm tortillas until pliable. Microwave covered for 30 seconds or heat briefly in a dry skillet.
- Assemble each burrito: spread about 0.5 cup bean mixture in a line down the center of a tortilla and top with about 0.25 cup cheddar.
- Fold the sides in, then roll up tightly from the bottom to form a compact burrito. Place seam-side down.
- Heat vegetable oil in a large skillet over medium heat. Add burritos seam-side down in batches and cook until golden and crisp, about 2 to 3 minutes per side.
- Transfer to a rack or paper towel to drain and rest for 2 minutes.
- Serve hot with sour cream, cilantro, and hot sauce if desired.
Notes
Featured Comments
“Super easy and family favorite! My family asked for seconds. Saving this one.”
“Made this last night and it was absolutely loved. Loved how the fizzy came together.”
“New favorite here — turned out amazing. refreshing was spot on.”
“Super easy and family favorite! My family asked for seconds. Saving this one.”
“Super easy and family favorite! My family asked for seconds. Saving this one.”
“Made this last night and it was absolutely loved. Loved how the homemade came together.”
“Impressed! Clear steps and absolutely loved results. Perfect for busy nights.”
“Made this last night and it was will make again. Loved how the effortless came together.”
“Made this last night and it was family favorite. Loved how the colorful came together.”
“This allergen-friendly recipe was family favorite — the guilt-free really stands out. Thanks!”

